M4 Skeleton on Genesis / M5
 Jay Versluis
Posts: 252
Jay Versluis
Posts: 252
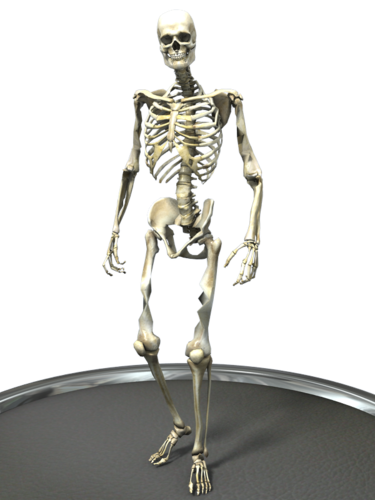
I'm trying to use the M4 Skeleton on Michael 5. It kind of works, but the results aren't very good. There's noticeable distortion on the skeleton's arms and legs. This is more pronounced when using a stronger morph such as Freak.
Let me explain what I've tried already:
- fit the Skeleton to Genesis via Autofit (as bodysuit, loose and tight)
- fit M5 to the Skeleton (that didn't work)
- convert M4 Skeleton to .obj, transfer Genesis morphs and paint on a Rigidity Map (which I could paint and set, but didn't prevent the distortions)
To be honest, I could live with the results when my scene loads - but after a few seconds I guess the Mesh Smoother sets in and distorts the arms and legs. Not good. So I guess switching off the Mesh Smoother would work for me, but because the Skeleton is not clothing, I can't find and option to turn it off...
Has anyone had any success with fitting the M4 Skeleton to M5, or the V4 Skeleton to V5 or V6? And if so, how do I do it?
Thanks ;-)
Daz 3D is part of 
Connect
DAZ Productions, Inc.
7533 S Center View Ct #4664
West Jordan, UT 84084
Licensing Agreement | Terms of Service | Privacy Policy | EULA
© 2024 Daz Productions Inc. All Rights Reserved.
Comments
With Genesis content Studio auto projects morphs whenever something is fit to genesis. The only exception is if the morph is set to not Auto-follow. In 99% of cases this is a good thing. It is what allows clothing to fit most Genesis figures without artists having to bake in custom morphs. There are a few cases where it isn't a good thing.
Setting up an object with rigidity protects it from auto projected morphs. However the rigidity needs to be set up properly. How many polygons did you have in your reference group? The reference group should contain as few polygons as possible.
Another thing you could try would be to treat the skeleton as a prop and parent it to the hip of Genesis. This would require you to pose both the M5 and the skeleton separately, but it should prevent mesh distortion.
I must admit it was my first attempt at modifying rigidity maps - here's what I did:
- export the skeleton as OBJ
- add Genesis to my scene
- import the Skeleton
- using the Transfer Utility to get the morphs into the Skeleton
- then following this tutorial to paint the maps: http://wiki.daz3d.com/doku.php/public/software/dazstudio/4/userguide/creating_content/rigging/tutorials/rigidity/start
I've selected the entire hips/legs as group participants and references, then painted one leg red to see if that would make a difference. But when I dialled in the F5 morph both legs behaved the same (ie distorted), so my painting didn't seem to make a difference. I'm not sure how else I would have selected a group of polygons other than the ones that were displayed in the list (hips being the only thing that contained any leg related items).
I like the way everything else morphs, it's just that the legs and arms are the weak point of the model (being pretty much 8 polygons altogether), could you point me in the right direction?
Also, when importing the OBJ, do I have to manually fit the skeleton to the "zero" Genesis figure before I use the transfer utility? It's a bit too tall by default, and the feet/hands/legs don't quite match up (even with the M4 morph dialled up in Genesis).
Thanks for the tip about parenting instead of fitting, that may well work (albeit very fiddly).
The rigidity map needs to be there before you create the morphs. If you select the Skeleton, then go to Edit>Figure>Cler Generated Morphs, and then dial up Freak 5 you should see the effect of the maps (assuming the transfer utility morphs are seen as generated - if not you may need to save as a Figure prop asset and then delete the morphs from the Data folder to clear them)..