Is easing into the Point-At modifier possible?
 de3an
Posts: 915
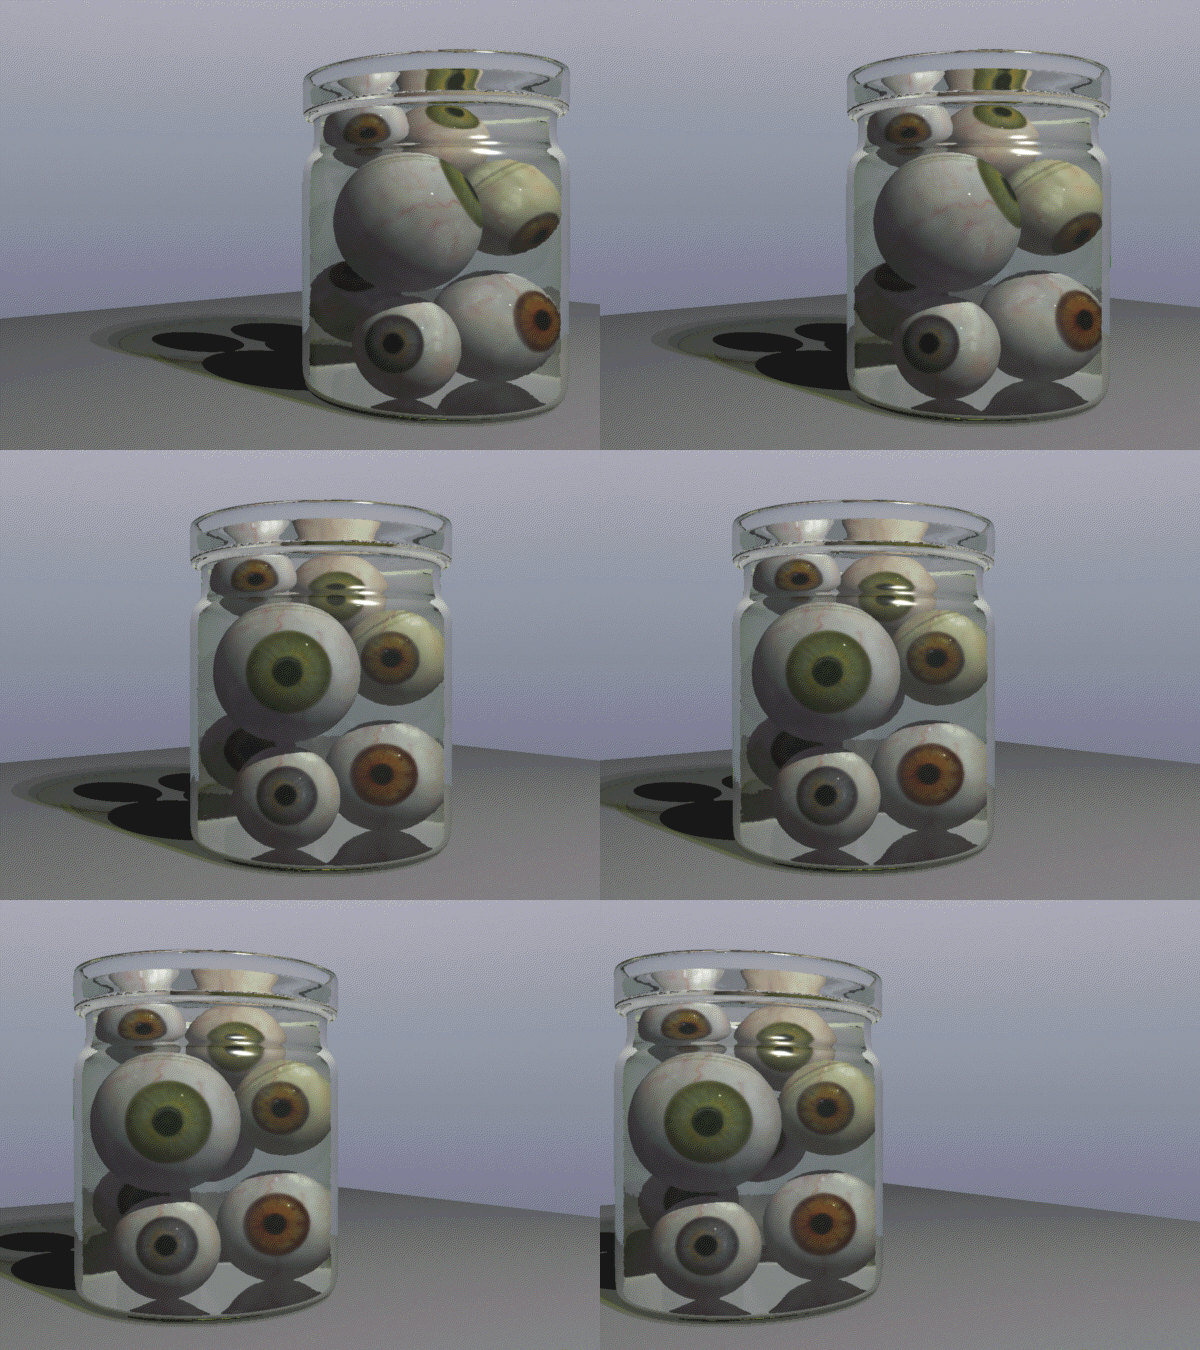
Just for fun, I want to create an animation in which several eyes in a jar start out pointing in random directions, then at about one second on the time line, they all look at and follow the camera.
Each eye has a Point-At modifier set to point towards the camera. At one second on the Sequencer time line, the Point-At modifiers are enabled with a key frame, causing all of the eyes to turn toward the camera.
However, the eyes turn too quickly at the key frame, and adjusting the tweeners have no effect on easing-into the Point-At.
Anyone know of a way to ease into the point-at rather than have it occur so suddenly?
Thanks.
Bonus points for anyone who can guess where I got the idea for this animation.:lol:


Doc2.gif
600 x 450 - 4M


Comments
Now that you have a keyframe for the start of the modifier and at the end of the timeline, will it work to disable the modifier and then adjust the first tweener?
Cool idea by the way!
The other idea is to have them point at a target helper object and wait to move the target until you get to the point along the timeline you want them to move, then move the target helper to the same position as the camera and continue it's movement with the camera until the end of the animation. I see you may need a several target helpers to do this.
I was hoping to avoid having to do it that way. But I might have to, to get the effect I want. Eight eyes = eight target helpers.
Ok, I'm trying it now....
It's hard to make the target helpers all follow along with the motion of the camera after aligning them to it. If I try to use the Track modifier to keep the helpers tracking the camera, I'm back to square one... the tweeners don't work.
Manually aligning hot points seems to be the only way. Ought to be a better solution.
All these fancy software functions, and none of them apply to my situation. :-( Oh, well...
Well, here's the result.
Thanks for the ideas!
I came up with a possible solution nearly as soon as I read the dilemma. Mike Moir taught me the Ctrl + K trick when I bought his BMF Landscape pack. Ctrl + K can be used to align one object to another. Align is selected by default, and it's the only thing I've used it for so far. In BMF, you use it to send objects from the default 'load in' position into the production frame (by sending it to a target helper.
So I propose that instead of targeting the camera, you 'point at' target helpers - one for each eye. whenever you'd like along the timeline, Ctrl + K each Target Helper to the camera in question. You could even do it at slightly different times if you'd like, and with the right tweener, you could even get them to pass the camera a bit and double-take back ;)
How it works is simple:
First select the item that is to be aligned to
Shift select the item that you need to align
Ctrl + K (Cmd + K Mac)
in the popup, leave Align in the drop menu
select all axis you need aligned - in this case, all three. Or not... your choice.
As a matter of fact, it might be fun to align one axis at a time over three short measures of time.
Before the Align, you'd just have to send the target helpers randomly about the scene.
Alternate design:
Instead of using Target helpers, use cameras.
This way you could have many various takes with the same final objective!
Hope it helps. It should at the very least be a fun experiment.
Hi de3an.
When you want the object to point at, or start to point at the camera, in the Point At modifier check Enable.Then without moving the timebar, click the small key icon in the sequencer tray to 'Create Key Frames'. Now uncheck(or disable) the point at modifier. This should give you key frames to ease in and out of, or stretch, in the timeline without the sudden pointing. Save/Load component in the motion tab or NLA clips might be used for duplicate objects etc.
Thanks Dartenbeck.
Actually, that's exactly how I did the second example I posted. When I spoke of manually aligning the target helpers with the camera, I meant by using the control-k align feature (I guess I still consider that "manual" :) ).
Thanks tbwoq.
The key frame is actually created by the action of checking the enable box of the point at modifier. So unchecking it will modify the key frame, undoing the previous enabling action.
I can't stop coming back to this thread to look at that animation. It should be creepy, but for some reason - while it isn't exactly cute - it doesn't give a 'creepy' vibe, and I find myself checking it out over and over.
Cool concept de3an :)
Thanks :lol:
I can't take credit for the concept however. It's a 3D realization of a 2D animation found in the opening of my new favorite animated series. I was wondering if anyone would recognize it.
Bonus points still available!
Thanks tbwoq.
The key frame is actually created by the action of checking the enable box of the point at modifier. So unchecking it will modify the key frame, undoing the previous enabling action.
Correct. With this method, the Point At modifier is only used to align towards an object. By using 'Create Key Frames' in between enabling/disabling the modifier, it creates new keys of the object pointing at the camera for that frame.
Correct. With this method, the Point At modifier is only used to align towards an object. By using 'Create Key Frames' in between enabling/disabling the modifier, it creates new keys of the object pointing at the camera for that frame.
That's kind of what I was thinking, but I didn't explain it well and I haven't tested it yet. I finally- after all these years of sitting on my HD, installed Sparrowhawke's jiggle deformer and have been "experimenting" with that today. ;-)
Correct. With this method, the Point At modifier is only used to align towards an object. By using 'Create Key Frames' in between enabling/disabling the modifier, it creates new keys of the object pointing at the camera for that frame.
This doesn't work for me. Unless I'm completely misunderstanding what you are saying.
When testing this for myself, I use a single cube and a single camera, and attach a Point At modifier to the cube with the camera as the point at destination. The object of the test is to make the cube swivel slowly between the first key frame and the key frame at which the Point At is enabled.
In all of my tests, the cube snaps to point at the camera rather than slowly swiveling.
Have you tested your method to confirm that it works for you?
Yes. I used a cone primitive and a camera.
-The object(cone primitive) has a Point At modifier with the camera as a target. It is disabled(unchecked) at frame 0.
-Animate the camera as needed.
-Move the timebar(or scrubber) to the frame where the camera stops/or is positioned, then Enable(check) the Point At modifier on the object.
-Without moving the timebar, in the sequencer tray, click on 'Create Key Frames'. This will create separate new keys that define the pointing translation. You will notice new keys written if you have the object expanded in the sequencer.
-Then Disable(uncheck) the Point At modifier in the object.
Now you have keys left over that are still pointing at the camera on that frame. Previewing the animation will show the object slowly point at the camera position. You can move the last main object key past the camera keyframes to delay/slow the pointing action etc. Hope this helps.
Ah! The light bulb has come on!
By toggling open the object in the sequencer, it's clear to me now just what is happening. This works perfectly. Thanks for taking the time to explain it.
This example was made using this technique.
Glad that worked. Very cool animation. :coolsmile:
Thing is, I can't remember exactly how I found that method out. I think I was clicking on buttons trying to see if the graph editor would work, and saw the new keys show up.
EDIT: Found the series this is from. Does a Google search spoil the bonus points or guessing? :)
All bonus points will be awarded. What's your guess?
Your Google-fu must be strong if you did indeed find it that way. What search terms did you use?
Eyeballs in jar + cartoon opening.
Disneys "Gravity Falls".
Indeed, Gravity Falls is correct. 100 bonus point to tbwoq!
I tried various jar of eyeballs searches without a Gravity Falls hit.
Alas, my fu is weak. :down: