Customized Character Tutorials
 dracorn
Posts: 2,345
Customizing Characters Tutorials
My good pal Saphirewild asked me about morphing characters, so I thought I would go all out and create some tutorials about customizing characters.
I'll be working with Genesis 3, but the same rules apply to G2 thru G8. I will be covering the following in various tutorials:
Morphing (Head and Body separately)
Surfaces - 3Delight
Surfaces - Iray
Custom Eye Textures
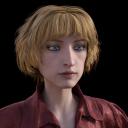
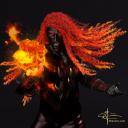
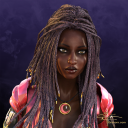
Here are some examples:

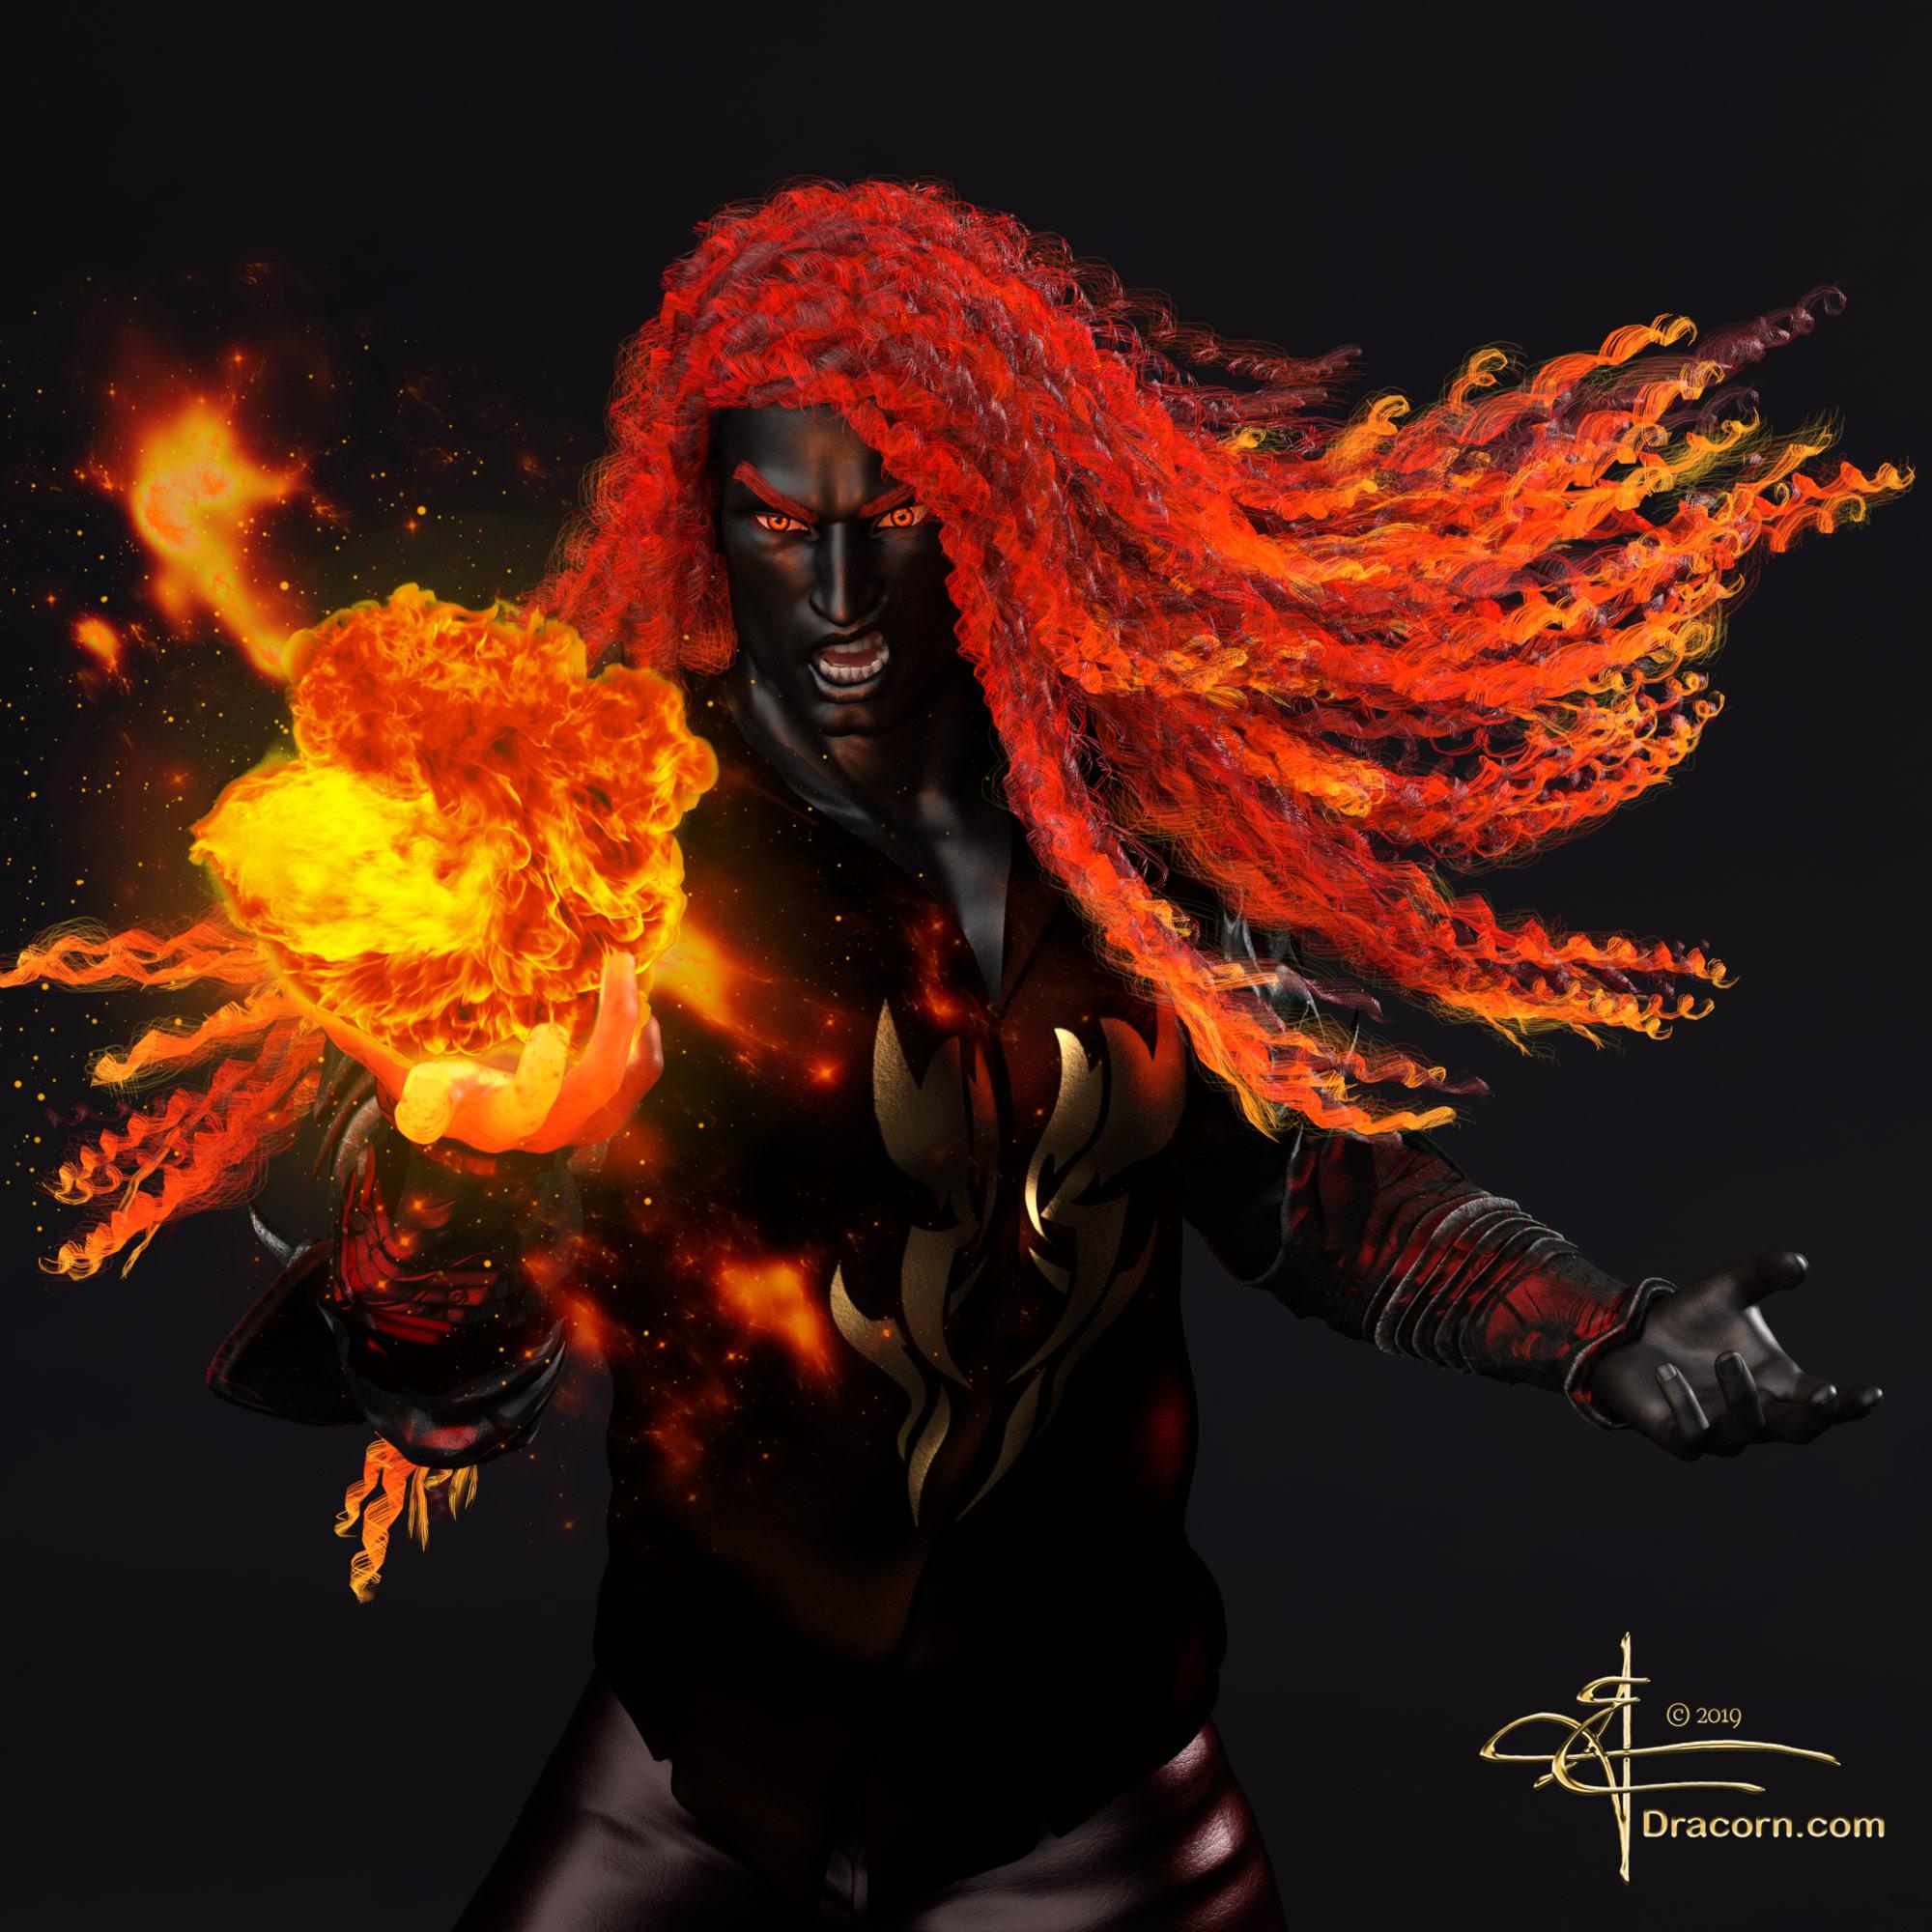


So for those of you who would like to learn about dial-spinning to create a truly custom character, here we go...

04 Face Costume.jpg
877 x 877 - 402K

Firemane 2000x2000 Q 65.jpg
2000 x 2000 - 688K

Shemi Okoro Hair Update.jpg.png
1000 x 1000 - 2M
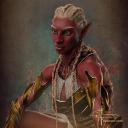

Za Gor Nya 2000x2000 65pct.jpg
2000 x 2000 - 800K
Post edited by dracorn on


Comments
Morphing Tutorial - Head
I'm starting with Genesis 3 Base Female. My reasoning is that I can dial in character's faces to a lower percentage, and build my own body. If I want an athletic character, it's harder to remove the round hip morph from an existing character, especially if it was created in Zbrush. If you try to remove the body morph by dialing that character's body to zero, it just looks weird. It's just easier to add then to remove.
Applying Character Morphs
Morphs also come with characters and are divided into Head and Body. Additionally, you may find ear, hand and fingernail morphs as well. Anything that has a dial can be blended.
Character head morphs are located on the Shaping Tab under Head and People, which can be subdivided into Fantasy SciFi and Real World. Just click on People to show all of them.
Here's an example of 10% EC Ciara, 0.20 Layla Human, 30% Xolani and 30% Arabella.
This is a great time to see how the morphs change the mesh. Starting from G3 Base, apply the Head Morph dial from zero to 100% for each character you own. Watch how the features change as you move the slider.
TIP: To zero out a morph, hold the ALT key and click on the number.
When you find something you like, save it as a shaping preset:
File > Save As > Shaping Preset and name it. To save the head only, open up Genesis 3 Female in the Shaping Preset Save Options, then Actor, and uncheck everything but Head, then Accept.
Individual Head Morphs
Let's start with the face and the basic Head Morphs for Genesis 3 Female. There are so many perfect fashion-model characters out there, I'm going to start with a more ordinary looking person.
Click on Face, and turn the head to view the profile. As I said earlier, experiment with the sliders to see the results from zero to full strength, and in some cases, negative values.
Face Center Depth -20
Face Flat 50
Click on Nose and add these values:
Nose Bridge Depth -78.2
Nose Bridge Slope 46.2
Nose Depth -71.4
Nose Tip Depth -52.9
I'm looking to create a flat face with a button nose:
Adding some more features, such as a round face and prominent cheekbones to Face:
Brow Width 25.6
Cheekbones Arch Size HD 88.2
Chin Crease HD 99.2
Chin Depth -36.1
Chin Width -76.5
Jaw Angle -69.7
Jaw Slack HD 37
Marionette Lines HD 71.4
Face Round 44.5
Forehead Flat 78.2
Now for the Eyes. I want them deep set, sad and with prominent lower lids.
Eyelids Fold Down -50
Eyelids Heavy 100
Eyelids Lower Height 45.8
Eyelids Smooth -50
Eyelids Upper Height 10.7
Eyes Almond Outer 31.1
Eyes Angled -41.2
Eyes Angled Outer -19.3
Eyes Depth 29.4
Eyes Puffy Lower 22.7
Eyes Width 39.5
Lacrimals Size 53.4
More for the Nose:
Nose Septum Width
Nose Tip Height 51.3
Nose Tip Round 7.6
Nose Twist -12.6
Philtrum Width 55.9
Now for the Lips:
Lip Depth Upper 7.6
Lip Width Lower -58
Lips Square 16
Lips Thin 36.1
Mouth Width -16
The completed head with texture (Rhea for G3F from Rendo).
Naturally, the more morph packages you own, the greater your choices for sliders. Zev0's 200 Plus Face Morphs is a great package to own, and there are others as well.
Now have some fun with sliders. Watch how the extremes can become crazy and subtlety can become wonderful.
Please post some examples here, I would love to see them.
Nicely done!
Nice. A great tool to use for character creation is the Simtenero Randomizer in the store. It uses any morphs you have installed and creates random characters. You can also filter to just affect certain parts like the nose or mouth.
I've seen what people have done with the Simtenero Randomizer and it's pretty cool. I tend to have a specific idea in my mind's eye when I create a character so it isn't a tool I personally use.
Neat!
Gotcha, but since you posted this as a tutorial, i figured I would add that for new users that don't have an idea, but want something different that they create themselves.
I am going to start working on this today!
I am so excited to have Dracorn doing these morphs tutorials because I have loved the characters she has come up with over the years.
If anyone can jump in and give some good advice about what they do to make their characters plz feel free to do so.
I know I am going to have many questions as we go along if anyone of you have a question I am sure Dracorn or the many others who create characters will be only too happy to answer your questions.
To start off the questions:
How do we know where to put those numbers?
Can you show us where to put those numbers?
Ok I have my render going right now so will post my results when I am done
While I wait I am going to tell you who I used to make my character Gia 6, more to the fact I used Aspen for Gia 6!
Tweaked her a bit more with a lot of the settings Dracorn used in her tutorial except I made her lips a lot more fuller and her cheeks as well.
Introducing Miss Ashley!!
Wow, what a great character! I really like those lips and her expression as well. Not so sure I want to be on the receiving end of that look, though...
Great job, Saph!
Thanks Dracorn it is really thanks to your tutorial that I even figured out how to do this!!
I am now waiting for another render to finish now it is her body morphs that I was playing around with to see if it could be much better now that she has a new face, I also used a new skin on her and new hair.
I will post it once it is done!.
Tutorials are usually filed in the relevant program forum (ie Daz studio) or in the Art Studio if the are image heavy. They don't really belong in the freebie forum.
To change the forum you click on the gear icon in your top post, click edit and then select a new category on the left hand side then save comment at the bottom
Well I finally figured out why the render would not post here it was because it was way too big lolz
I am going to post the revised version in just a bit!
Here is the revised Ashley!!
Here is another Character I did up earlier today
I used a few morphs for this look 30% Gia 6, 60% Fairy Morph I got a while back for free on ShareCG,10% Teen Josie 6, used extend elf ears as well I got for free a while back. It is only head morphs I used on this one.
Rendered in 3Delight used AoA Ambient Lighting only, no postwork, Hair used is Scarf Hair For GF2 and Teen Josie 6, Outfit is Diamond Glitter for GF2
Eve Elven
Awesome!
Thanks for the nice comment Dracorn!
I can not wait to see what you come up with next.
Also can not wait for the intro to skins for the characters!
I was at work so now that I have more time for comments:
I especially like Eve Elven. Not only are the face morphs very good, but your choice of skin, makeup and outfit are great. And the lighting is excellent. The ambient is bright enough to add some shine on the jacket and bring out all her features.
Let me know when you put this one in your gallery, 'cause I wanna give it a like. It deserves lots of 'em.
Tips on Facial Features - Neoteny
The strict definition of Neoteny is juvenile features in adults. A little bit of neoteny is attractive, especially in women. These are large eyes, small nose lips and chin. You will see this portrayed especially in cartoon characters. Most people design elves with some neotany in their faces. Here's some examples from the Daz store from strong to subtle:
VYK_Sad Sue for Genesis 3 Female
https://www.daz3d.com/vyk-sad-sue-for-genesis-3-female
Phyrra for Mika 7
https://www.daz3d.com/phyrra-for-mika-7
P3D Silvie
https://www.daz3d.com/p3d-silvie
Neoteny can be applied to any race as well. This is one of my favorite dark-skinned elvish characters:
Xolani for Monique 7
https://www.daz3d.com/xolani-for-monique-7
More Practice - Do Some Research
To get practice creating characters, google "women's faces" and look at the images. Try to copy these features. It's hard at first, but looking at real people will give you more ideas than just what's in your mind's eye. Pinterest is another good site for ideas - check out portraits. Study the features of different nationalities and races, too. You will find yourself being more observant of what people look like when you go out as well.
Here is the link to the 4 of my new Characters
Here is yet another Character calling her Cassia the Retro Rocker!
I even practiced some of my retexturing abilities on the clothes.
Also tryed to get in some postwork practice, so any advice on the postwork would be a major help!!
That strange background shadow is my febble attempt at postwork in GIMP was trying for a whole stoned kinda outlook (Like she smoked a big joint)!
Excellent thread, dracorn. Hope to learn myself from your fantastic tutorials.
I am working on a Male character right now From GM2 - Lee 6 as the base it is a combo of Dials so I hope you like him.
The Background is my attempt in Gimp of a flower I shot over the summer and used Klidascope and zoomed it in real close.
Introducing Soshi Yan:
Now this is the kind of thread that's hard to stay away from (he said, dangling a participle). I do quite a lot of this stuff myself, although little makes it past the router. Dial spinning is fun! (Note to audience that may not know this: the term "dial spinning" or "dial-spun" character is an artifact of Poser. Poser actually uses little virtual dials in its interface to perform many of the functions for which DAZ Studio uses sliders. "Dial-spun character" does have a certain pizazz compared to "morph-slidered character".)
When I first started doing this, quite some time ago, I began just playing with the various sliders to see what happened. Great fun and instant gratification. But not much real accomplishment. Eventually, over time, I shifted from randomly moving sliders to beginning with a character concept in mind, which tended to yield somewhat more predictable, and often significantly more acceptable results. I should add that I tend to work almost exclusively with the individual feature morph sliders for the figure, rather than using combinations of existing character morphs. That is largely to do with my starting with a specific character in mind that is unlikely to be achieved by combining existing characters. The one exception would be if I wanted to "toonify" or "animify" an existing character, in which case I might use one pf the pre-existing base characters for the figure for that purpose.
Anyway, following with interest!
I would like to know how to make your very own morph sliders!
Do you have to take the figure into another program Like Hexagon for the morphs or can you do it right in daz studio?
I also would like to make older women not real old but you know like in thier 40's or 50's How would I go about that?
I don't know if you were asking me or not, Saph, but I don't want to usurp dracorn's thread, so I'll give him/her? a chance to respond first. Polite, eh?