reference screenshots, etc etc etc
MistaraMistara Posts: 38,675
edited July 2021 in Carrara Discussion

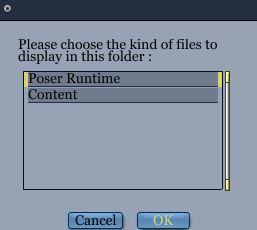
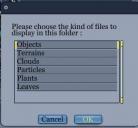
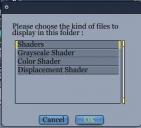
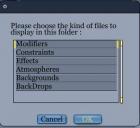
Adding Folders to Tray

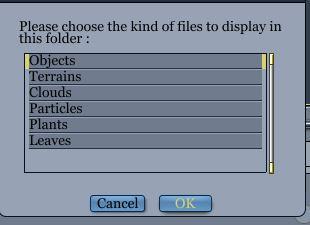
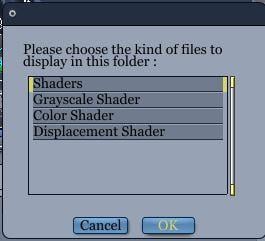
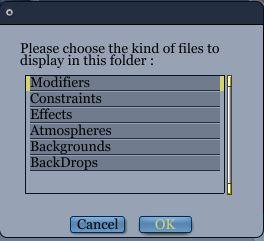
i forget what goes where, so i made a ref

objects
shaders
Misc
 

To copy carrara browser tray to another pc, copy over the preferences.txt file

this the path to preference files

C:\Users\your windows10 user name\AppData\Roaming\DAZ 3D\Carrara 8.5

preferences.txt

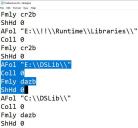
sometime removing folder in the tray and re adding doesn't fix stuff, seen that sometimes a remnant remains in this rtext file
in that case go to the preferences.text and manually delete 4 lines related to the folder
sometimes a remnant is only 2 lines.
do a find for dazb  to zoom to any content folder remnant
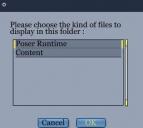


tab tray - content.JPG
257 x 230 - 15K
tab tray -objects.JPG
262 x 243 - 18K
tab tray -shaders.JPG
265 x 241 - 19K
tab tray miscs.JPG
264 x 241 - 19K
tab stuff in the tab trays.JPG
706 x 656 - 58K
Post edited by Mistara on

Comments

  • MistaraMistara Posts: 38,675

    other things i brain fart on

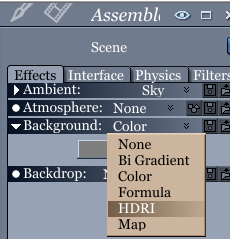
    HDRI goes under background
     

    light gels go under the light, effects, gel, map


    Sunbeams are under, realistic, sky, in the fog tab (2nd button)


    Rainbows are under sky  (not realistic sky)


    Camera depth of field previewer is under camers,effects


    Camera, minimum safe distance, like when red matter is dumped in a planet core,
    is under camera, general, distance to near plane, has a minimum of .01


    hdri goes under background.png
    230 x 239 - 21K
    light gels.JPG
    243 x 371 - 22K
    sunbeams fog.JPG
    824 x 669 - 109K
    rainbows.JPG
    549 x 696 - 72K
    cam dof.JPG
    517 x 466 - 48K
    safe dist.JPG
    421 x 422 - 37K
  • MistaraMistara Posts: 38,675

    stuck in the hair decision making process, , which way to go?

    hair decisions.JPG
    733 x 397 - 59K
  • ProPoseProPose Posts: 527

    Bookmarkedyes

  • MistaraMistara Posts: 38,675

    Reference of Modifiers  - the alpha channel tic box
    is the 2nd tab


    the Modifiers List -vertex


    render alpha channel.JPG
    261 x 521 - 44K
    modifiers phsics.png
    257 x 306 - 28K
    modifier basic deformations.jpg
    257 x 356 - 29K
    modifier smart pack.jpg
    249 x 284 - 26K
    modifiers waves.jpg
    251 x 282 - 26K
    Modifiers complex.jpg
    254 x 324 - 31K
    modifiers behaviors.png
    233 x 321 - 29K
  • MistaraMistara Posts: 38,675
    edited July 2021

    Soft body  settings


    Scene Gravity


    3 spots for clothify3.jpg
    235 x 546 - 40K
    3 spots for clothify2.jpg
    257 x 542 - 40K
    scene gravity.JPG
    245 x 308 - 28K
    Post edited by Mistara on
  • DartanbeckDartanbeck Posts: 21,522
    Mystarra said:

    stuck in the hair decision making process, , which way to go?

    Here is a playlist I made of the wonderful tutorials by JonStark on getting comfy with Carrara's dynamic hair. Wonderful advice!

    Jon Stark's Carrara Dynamic Hair Course

  • mindsongmindsong Posts: 1,701
    edited November 2019
    ProPose said:

    Bookmarkedyes

    yes yes

    Mystarra said:

    stuck in the hair decision making process, , which way to go?

    Here is a playlist I made of the wonderful tutorials by JonStark on getting comfy with Carrara's dynamic hair. Wonderful advice!

    Jon Stark's Carrara Dynamic Hair Course

    yes yes

    Thanks Mystarra! (and other contributors...) this stuff is priceless when needed!

    --ms

    Post edited by mindsong on
  • MistaraMistara Posts: 38,675

    web dings and wing dings reference for text primitve

    the last 2 lines is split at N

    wingdings, wingdings2,wingdings3, webdings

    webding wingding.png
    2000 x 937 - 431K
  • MistaraMistara Posts: 38,675

    Particle Emiiter presets

    Particle Emitter, Obj, Shader Domain


    particle presets.JPG
    1099 x 526 - 110K
    emitter obj shading domain.png
    875 x 387 - 88K
  • MistaraMistara Posts: 38,675

    id you has the patience, follow along to where i gets stuck  dohh  lol

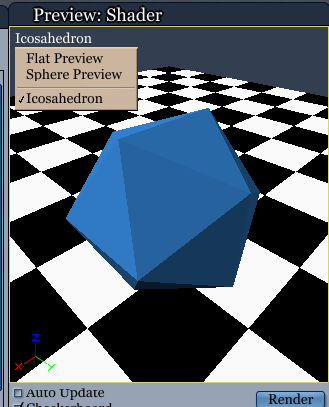
    preview shader options
    Color Picker Options

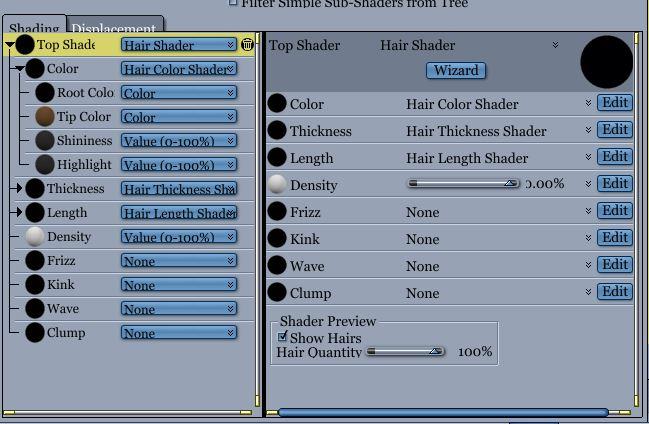
    Top Shader options Hair shader options
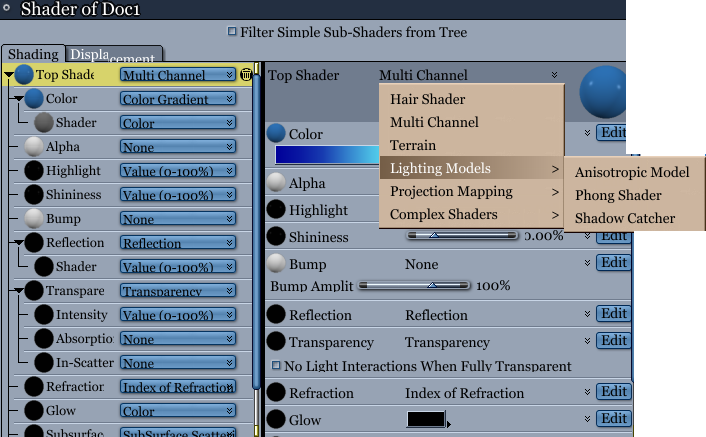
    Top Shader - Lighting model
    top shader  projection mapping  (overrides the uv map)

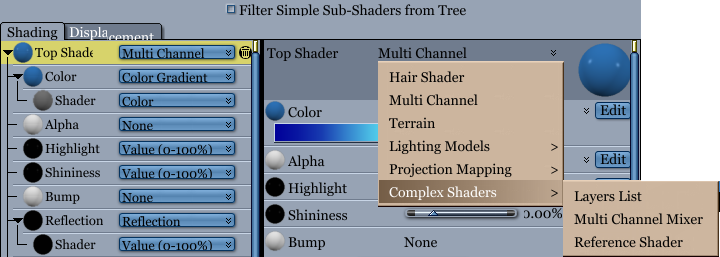
    Complex shaders
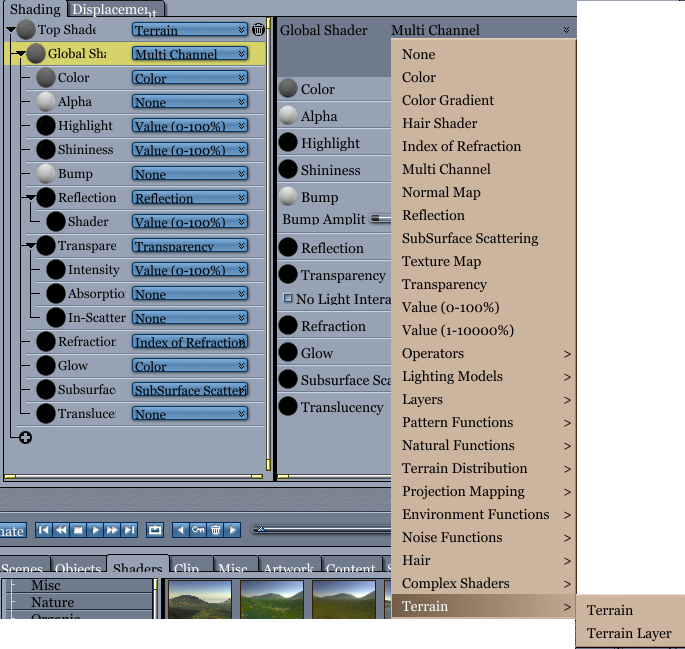
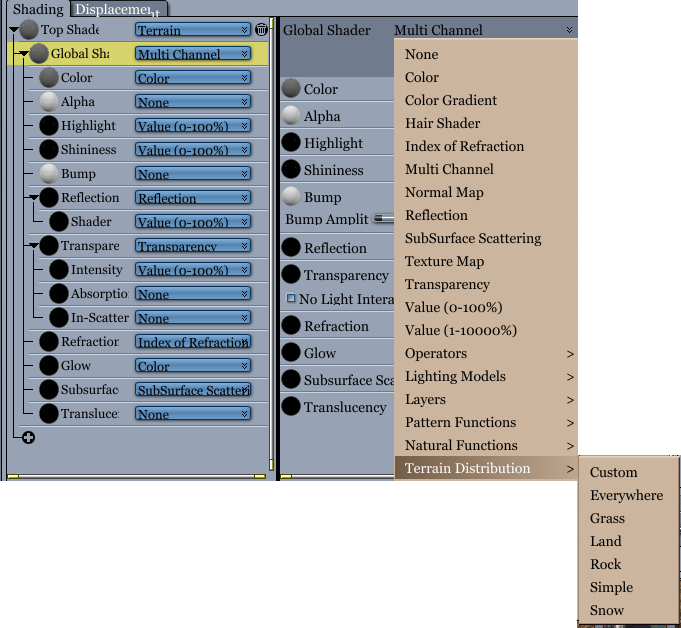
    global shader, Terrain options
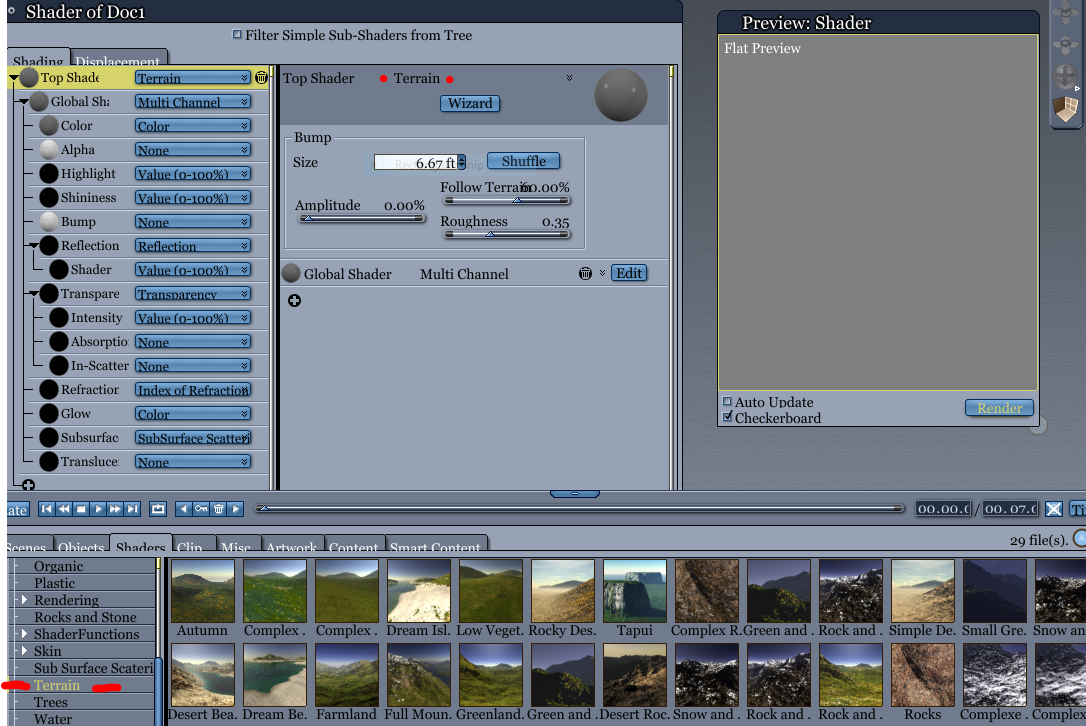
    The terrain shader presets
     

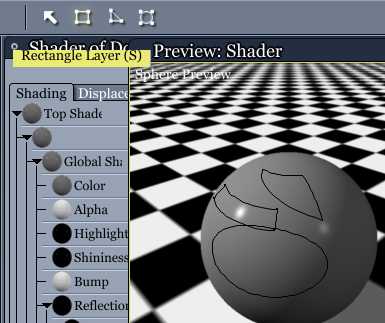
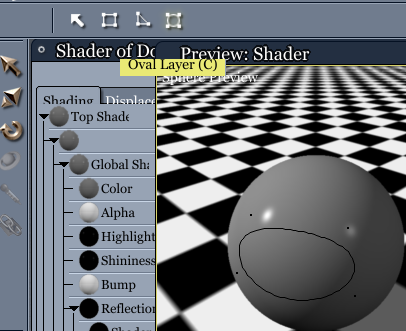
    These tools I've ignored, cuz i don't know how to use em,  it draws on the preview ball

    Oval layer
    Polygon Layer,  rectangle layer
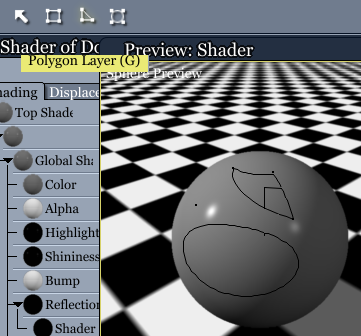


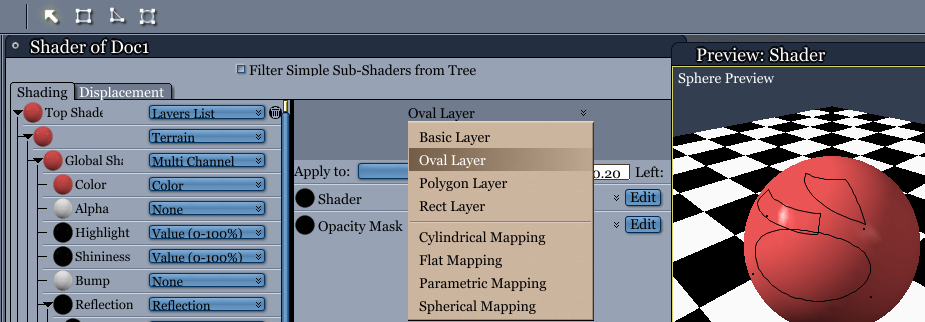
    I see here a layers dropdown for shader and opacity. ???

    but then what ???


    00 Colour picker options.png
    1143 x 498 - 161K
    01 shader preview options.png
    329 x 407 - 23K
    03 projection mapping.png
    716 x 218 - 75K
    04 complex shaders.png
    720 x 257 - 79K
    05hair shader.JPG
    649 x 424 - 65K
    05 Terrain shader.PNG
    1086 x 726 - 454K
    08 terrain options.png
    681 x 628 - 126K
    09 terrain.png
    685 x 649 - 165K
    001 oval layer.png
    406 x 331 - 80K
    002 polygonal layer.png
    361 x 336 - 75K
    003 rectangle layer.png
    385 x 323 - 75K
    01 shader preview options.png
    329 x 407 - 23K
    02 top shader optio s.png
    706 x 437 - 119K
    004 apply to layer.png
    925 x 322 - 101K
  • MistaraMistara Posts: 38,675

    Bones Influence.

    rigging attempt  smiley

    so i was rigging the webding sickle moon and star.

    I anted bone 2 to move the star only.  but the points on the moon sickle were moving too

    used the bones influence tab, selected the pollies on the sickle, moved the bones influence sliders to make it 100% effected by bone 1.


    bone influence.JPG
    1052 x 490 - 76K
  • MistaraMistara Posts: 38,675
    edited November 2019

    Convert Text Primitive to Vertex

    On the edit menu

    quick uv map

    set all the text shader domains to 1

    select all the pollies first, then clickity add and rename as desired
    clickety del til all the xtra domains gone, 


    ca convert to vertex.jpg
    739 x 559 - 147K
    ca quick uv.JPG
    661 x 618 - 72K
    ca combining all the text shader domains into 1.JPG
    648 x 640 - 84K
    Post edited by Mistara on
  • MistaraMistara Posts: 38,675

    DS screenshot,  Converting rigging

    Edit, Figure, Rigging, Concverrt ...

    02 06.png
    906 x 578 - 264K
  • MistaraMistara Posts: 38,675

    Reference for new to Carrara - THE Production Frame

    thinking back to when i was new to Carrara, the first thing i got stuck on was the Production frame.

    Carrrara doesn't necessarily render the preview window.
    It renders what is Framed.

    Toggles production frame visibility
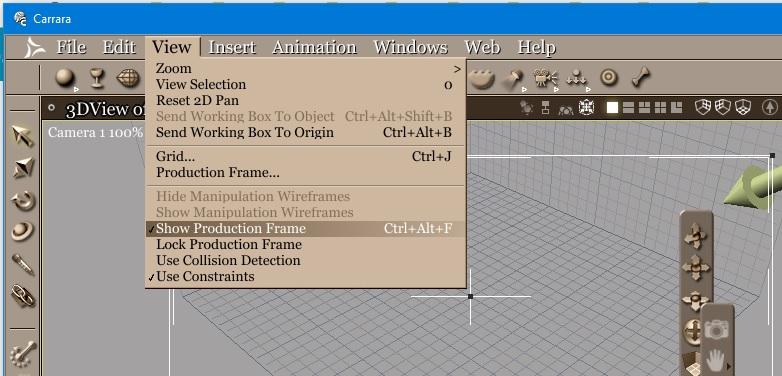
    To adjust the borders size of the frame
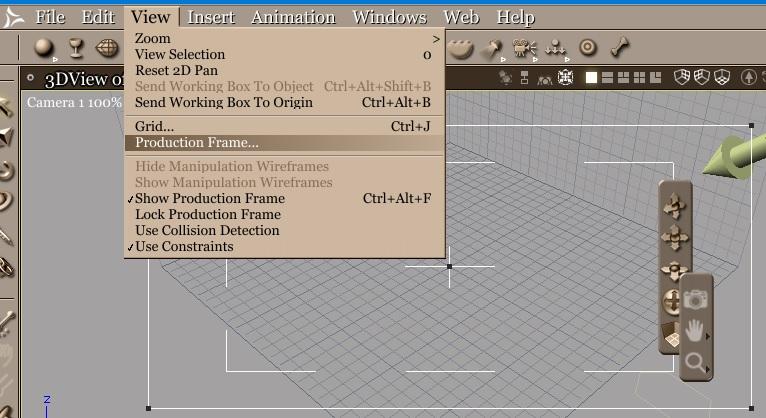
     

    If the production frame isn't letting you adjust the ratio,
    the Keep Proportions prolly needs to be toggled in render settings, output


    01 for new users.jpg
    782 x 376 - 104K
    01 1 for new users.jpg
    766 x 418 - 112K
    01 2 for new users.jpg
    1105 x 363 - 57K
  • MistaraMistara Posts: 38,675

    Plain old Color+Gradient

    can hardly believe it
    the journy to find color gradient has reached the stattion, lol

    the shader dropdown has an option for 'gradient'  duhhh omg, going to sleep tonight with a smile  lol


    radial gradient.png
    640 x 480 - 78K
    gradient radial.PNG
    816 x 471 - 176K
    ca color gradient.PNG
    795 x 482 - 125K
  • MistaraMistara Posts: 38,675
    edited December 2019

    Gels SHadows+effects  shadow+gels  shadow+maps

    Carrara native light gels

    Barn Doors


    gradient shadow


    shadow map

    gel blinds.png
    640 x 480 - 38K
    gel blinds.JPG
    687 x 190 - 35K
    gel gradient circular.png
    640 x 480 - 13K
    gel gradient shadow.JPG
    696 x 232 - 38K
    gel gradient shadow.png
    640 x 480 - 12K
    shadow map.JPG
    246 x 461 - 29K
    Post edited by Mistara on
Sign In or Register to comment.