Animated Sprite Sheets using UV Transform in Carrara 8.5
 DesertDude
Posts: 1,238
DesertDude
Posts: 1,238
I've been experimenting recently with the mysterious UV Transform Operator, found in the Shader Room (Operator > UV Transform), introduced in Carrara 8.5.
I think I got this to work pretty well so far, but I am not a UV expert, so I hope I don't abuse the UV vocabulary out of ignorance. There is a link to a YouTube video at the end of this post which shows what I'm about to explain in action.
OK, for the first example / experiment I used a simple flat Vertex Plane. I am going to show you how we can animate between 4 different textures all on the same image. I believe such an image is called a sprite sheet? I'll start with 4 to be simple but you'll get the idea real quick and can scale this up however high you want.
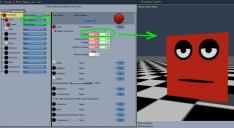
Here is a screen grab of the UV editor:
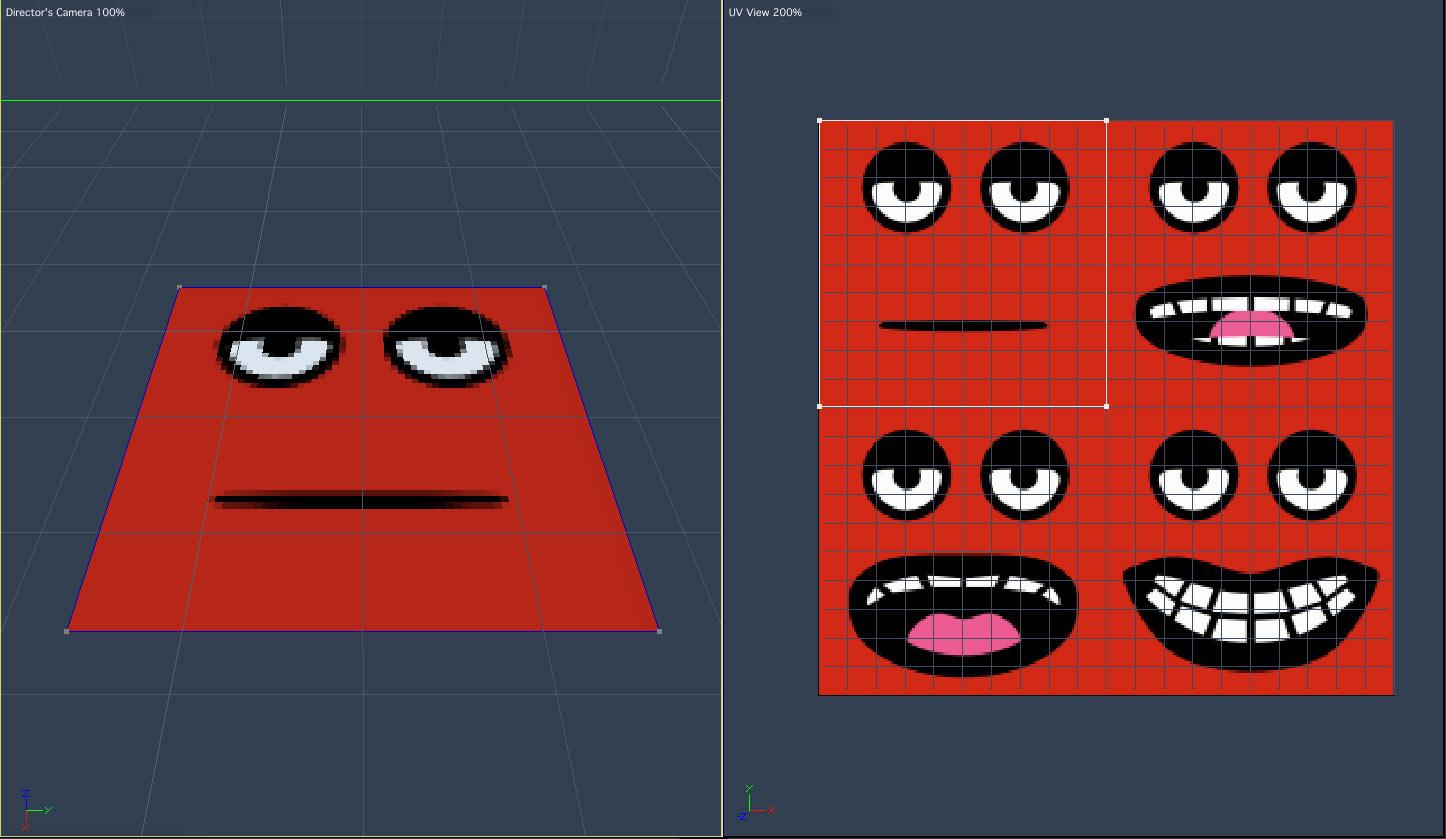
This texture map is 512 x 512 and is divided up into 4 quadrants, each 256 x 256 and each quadrant contains a different image. You can see the flat plane is displaying only the upper left image of the face with the mouth closed. The white square in the 'UV View' is the UV space scaled down to snuggly fit the upper left quadrant, and that's the space we're going to move around using UV Transform. Right now, the coordinates are set to X = 0 and Y = 0, which we can see when selecting the UV Transform Operator in the Shader Room:
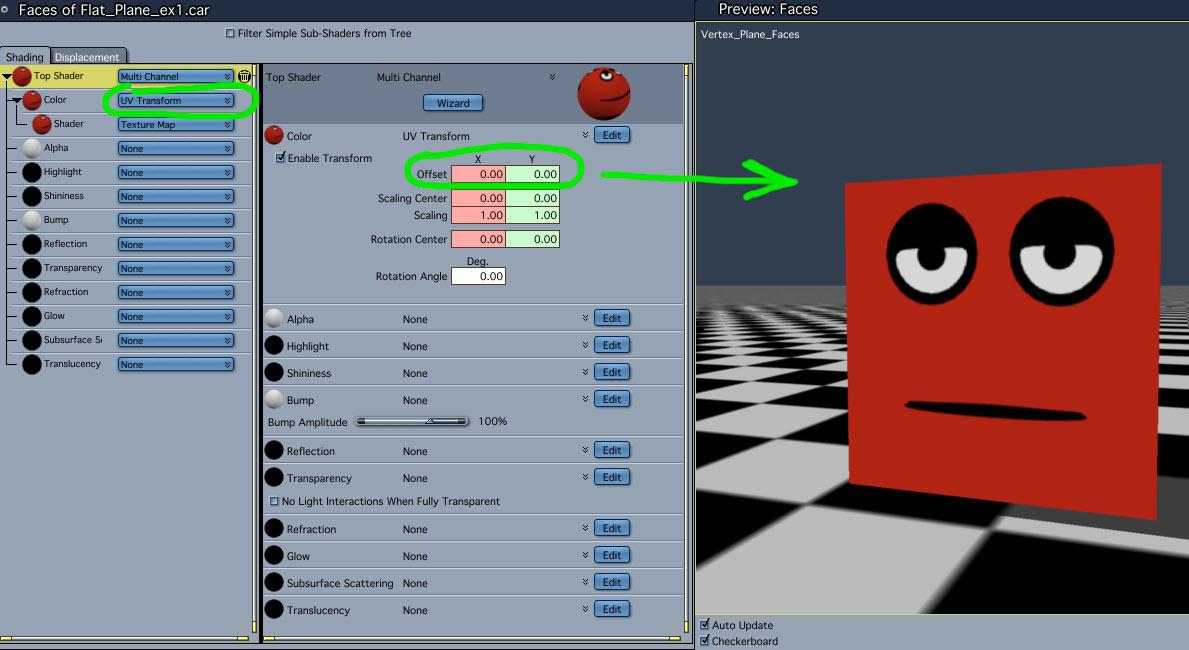
So, I want to move my UV 'window' over on the X axis to display the second image. Under UV Transform, I enter -0.50 for 'X Offset' and voila, The image in the upper right quadrant is displayed on the flat plane.


To get the bottom left image to display, enter X = 0 and Y = 0.50
And last, to get the bottom right image to display, enter X = -0.50 and Y = 0.50.
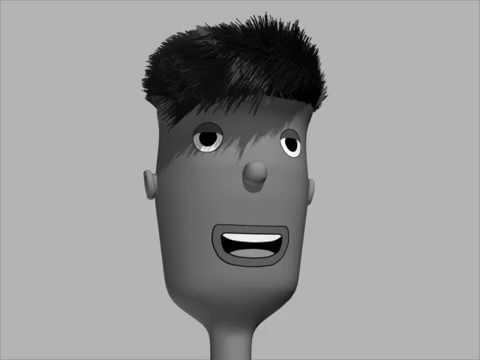
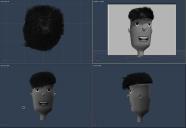
Here is another example using a cartoony head. The mouth, the left and right eye, each have their own sprite sheet:

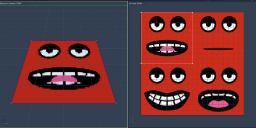
In this case, I made each texture map larger to accomodate more "sprites", this time there are 16 quadrants, each 512 x 512. I was lazy though, and as you can see from the UV Editor screen grab for the mouth, I didn't fill up all the slots, lol.
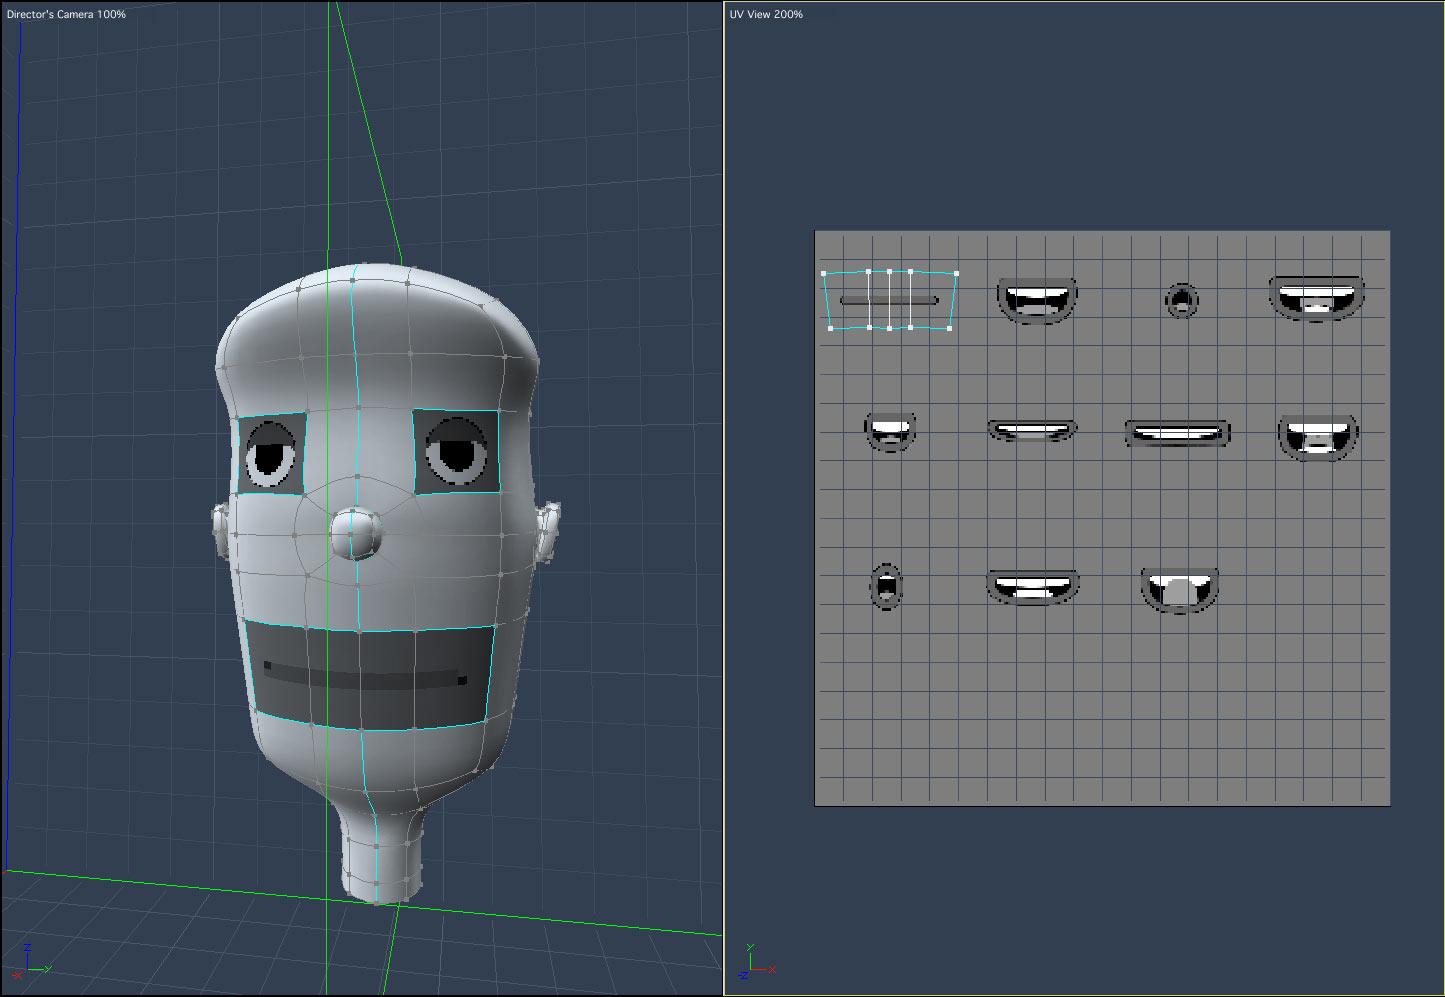
For this set up I moved the UV's on the X = -0.25, -0.50, and -0.75, and Y = 0.25, 0.50, 0.75. See where the empty unused slots are?
For this technique to work make sure your Tweeners are set to Discreet or else your textures will slide around!
Also, for my examples I was looking to switch instantly between images/cells, but you can use this to pan across your texture up, down, diagonally...in that case you would probably want your Tweeners set to someting else.
Okay, after all those words, here's the test clip. It goes by quick. The flat plane loops 3 times through the 4 images and the cartoon head blinks twice, winks once left eye, then right, then runs throug the phonemes I made, then blinks twice again.
Hope this inspires some creativity!


Daz 3D is part of 
Connect
DAZ Productions, Inc.
7533 S Center View Ct #4664
West Jordan, UT 84084
Licensing Agreement | Terms of Service | Privacy Policy | EULA
© 2025 Daz Productions Inc. All Rights Reserved.
Comments
Building some simple morphs in as well helps deform and stretch the textures, for example, into smiles and frowns. I had some for the 'cartoony head' for the mouth region, but didn't like it enough to show so working on v3.0 of this concept.
looking cool
Hey thanks Wendy!
(Boy am I up late...)
great idea, thanks for the tut too !!
This is great! Thanks.
Bookmarked.