Genesis 3 / iRay Render (and skin issues)
 Parallaxe
Posts: 8
Hi there
I have only learned about Genesis 3 and iRay, and started to play around with the new features. I somehow lost Daz3D out of sight when Genesis 1 was introduced and therefore I'm not so familiar with the possibilities yet. Specifically, I do have some issues with the skin, which looks orange and not very natural. Any suggestions on how this could be improved?


Post edited by Richard Haseltine on


Comments
Were you using a set of iray materials? Switch to the Surface Selection Tool (Tools menu, though it should be on a toolbar in many layouts) and open the Surfaces pane if it isn't (Window>Panes(Tabs)>Surfaces). Now use the tool to click on an area of the skin and look at top-left of the Surfaces pane - does it say Shader Iray Uber Shader?
Hi Richard
Thanks for your comment (-:
Are you referring to this? If yes, then I think I somehow missed how to use the iRay Uber Shader:
Yes, those are 3Delight shaders - which character set are you using for the textures? Most G3F sets will have Iray materials, either in a folder of their own with a second folder for 3Delight or mixed together with the file name telling you which is which. You should need only to select the figure and apply the Iray version of the base material file, plus any make-up options you want.
Hi Richard
Again, thank you so much for your reply. The iRay materials are somehow confusing: I can see where the DIM has downloaded and stored them. But they don't show up within DAZ.
But the general direction how to fix this is clear. Therefore, thanks a lot for your help. Much appreciated (-:
Cheers
Parallaxe
HI, can anyone make suggestions for settings or add ons that will help get nice looking skin in my Iray. Every render I do leaves noise/grain on the skin of my Genesis 3 models. I have experimented with increased ISO, lowered shutter speed, lower aperature, use Iray lights, I set quality to 1.0 and give it an over abundance of time to complete. Still I get grain. Do I need to buy special shaders or something I don't know about? Please help/make suggestions!!! I want to solve the mystery of smooth skin!
How are you lighting the scene?
I am using Iray lights, mostly fill lights for my subjects and mains for the set...it is quite dim low key lighting but the subjects skin is very brightly lit. Is there some sort of Iray enviroment light that works? Or any environment light of any kind that works with Iray render? I must be missing something...
Go for the simple to start. Find what works with a basic setup, then get fancy. No one cooks a perfect souflle first time around. Start with pancakes.
Set up a scene like this:
1. Start a new scene, without any scene lights.
2. In the Iray Render tab, choose Dome and Scene (forget for now you have no scene lights), Finite Sphere.
3. If it's not already applied, click beside the Environment Map channel, and add the "DTHDR-RuinsB-500.hdr" file. It's located in the \shaders\iray\resources folder within your Daz Studio program directory.
4. Rotate the dome to 40 degrees.
5. Add your character, apply Iray skin. Skip the hair and clothes for now.
6. Go to the General tab under Render. Set the render size to no more than 800 pixels high, just to keep things speedy. For now, leave the setting that says Auto Headlamp/When No Scene Lights. Yes, we want the headlamp for now.
You should get a reasonably good and fast* render. (*Fast is relative. On an older machine where you have only CPU render capability, it could take 15-20 minutes, even longer.)
From here, you can experiment. Add scene lights, turn off the camera headlamp, change the HDR (or not use it). You will learn what increases render times, and therefore might still leave unconverged pixels. Remember that with Iray, less light = more processing time. Convergence is slower at low light levels.
Should you want a dim scene, do the opposite of what you're supposed to in real life -- forget being physically accurate here; noisy renders aren't physically accurate, either. Keep the lighting levels normal, but adjust the tonality of the scene using Tone Mapping. That's why those adjustments are there. They have no other artistic effect on the scene than to adjust brightness (f-stop doesn't alter depth of field, a slow shutter speed doesn't create blur when rendering a still image, and ISO doesn't change the characteristics of the "film"). Tone Mapping allows you to give Iray a normal amount of light, and only controls how the scene is painted to the output canvas.
On being brightly lit: that's probably from the camera headlamp. Eventually you may want to turn that off, but as I noted above, simplify the scene with just an environment light and headlamp (acts like the flash on a camera) to get a render baseline.
Many thanks will give this a go!
Does the dome light work even with interior scenes? Or does it requre direct line of sight to work?
They don't call it "Environment" for nothing! The light will illuminate the whole environment outside the set, which will then show through the window.
How does one achieve interior global ambient lighting using Iray? I seem to recall someone saying that Uber Environment lights do not work with Iray...
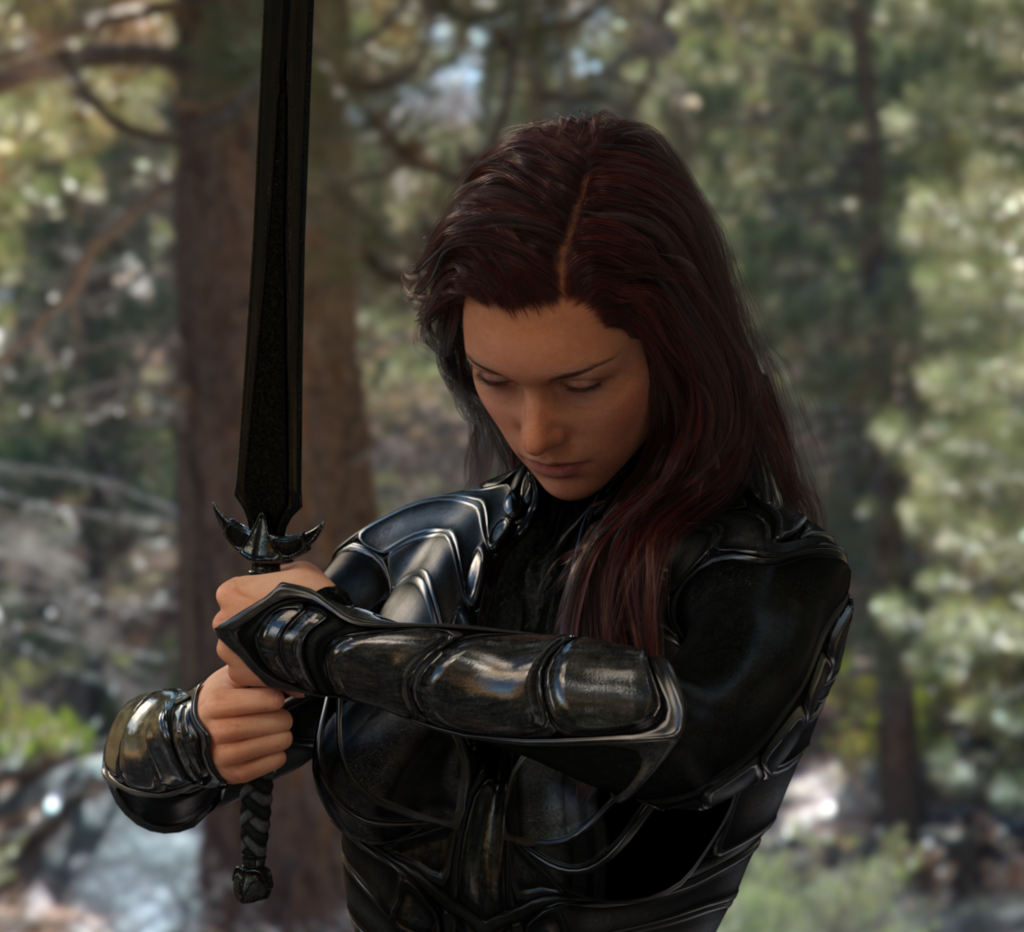
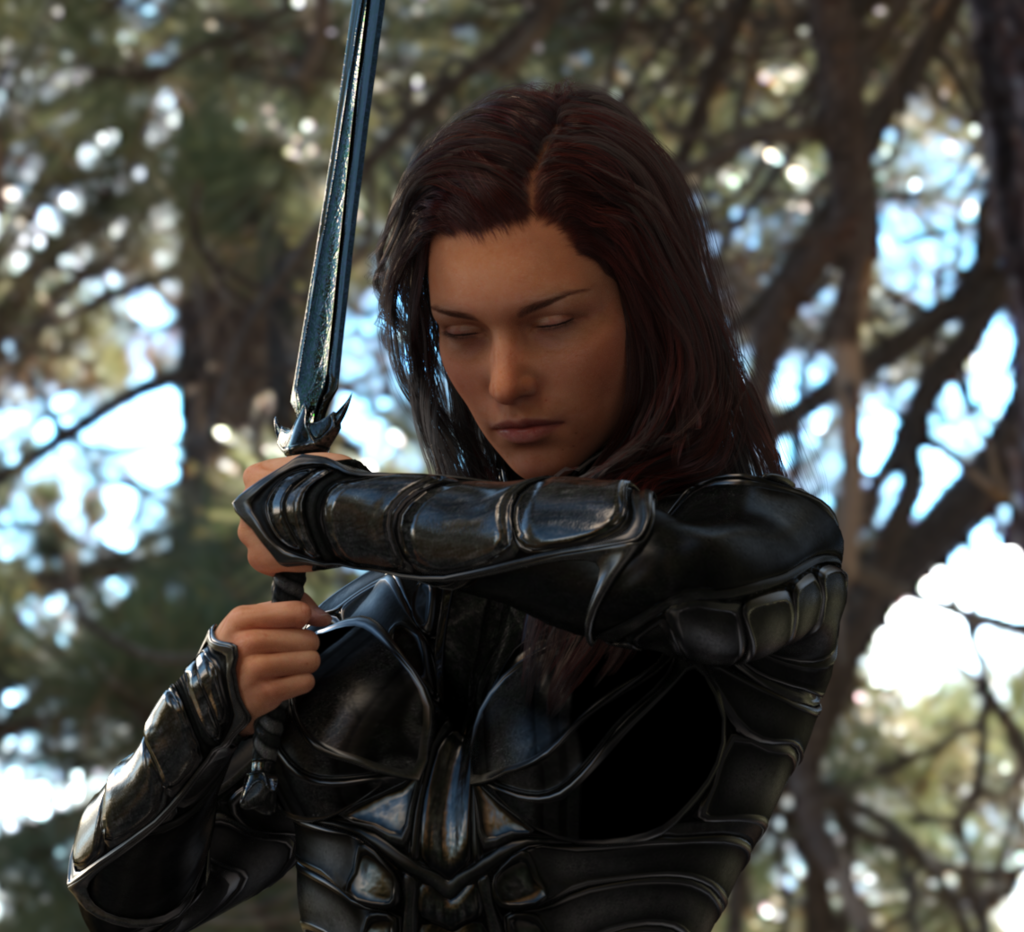
Amazing render. What armor is she wearing?