Monochrome and black and white imagery
I am curious how others create their monochrome and black and white renders. Please post some examples and tell us how you rendered them.
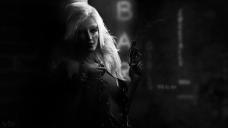
This is one I did recently.
Noir Fatale

I usually render my B&Ws in color then convert them to monochrome in post. I use GIMP and/or Darktable. I tend to add a second set of lights closer to the figure to raise the highlights, and in this case deepen the shadows.


Noir Fatale.jpg
2311 x 1300 - 786K
Post edited by dtrscbrutal on


Comments
It may well jusat be postwork, but the Tonemapping settings (they appear after a render, Iray or Filament Preview, or after creating the settings node explicitly) do include a Saturation setting which can be used to reduce or remove colour.
There are dozens of ways to do BW in Photoshop. I do have a preferred workflow but I suspect only a tiny percent of people here use Photoshop. When I do renders, I generally create characters separate from scenes and insert them as separate layers. This is because I find you get much better results in how you merge the layers together in order to get a more realistic look. Layers allow you do do more tricks. One is to use a soft round brush and put a white one-click layer spot behind a character. Then you can adjust the size and opacity of the white spot to make it more subtle and have the character stand out better. Another trick is to create a top layer and fill it all black. Then use a soft round eraser with opacity set low and slowly click/erase the layer so your scene starts to show through. You can erase as much or as little of the black layer as you want and wherever. You can stop there or change the opacity of the layer. It creates a vignette effect that doesn't look like a fake vignette. The above can be applied to both BW and color.
@Richard_Haseltine I never realized that could be done after the render finished, that is great info!
@mwokee I often render foreground/character as a separate layers as well. It really does keep your options open. It sounds like the techniques in PS are very similar in GIMP. Good information, I would love to see some of your work in this thread.
Darktable has a very nice monochrome preset if you wanted to try something new.
Tone mapping saturaton is set to Zero in Daz Only.

Play around with Highlights, Crushing the Black and gamma to get your desired look.
Edit: I added the last sentence before this one: I know you; jokers like to joke.
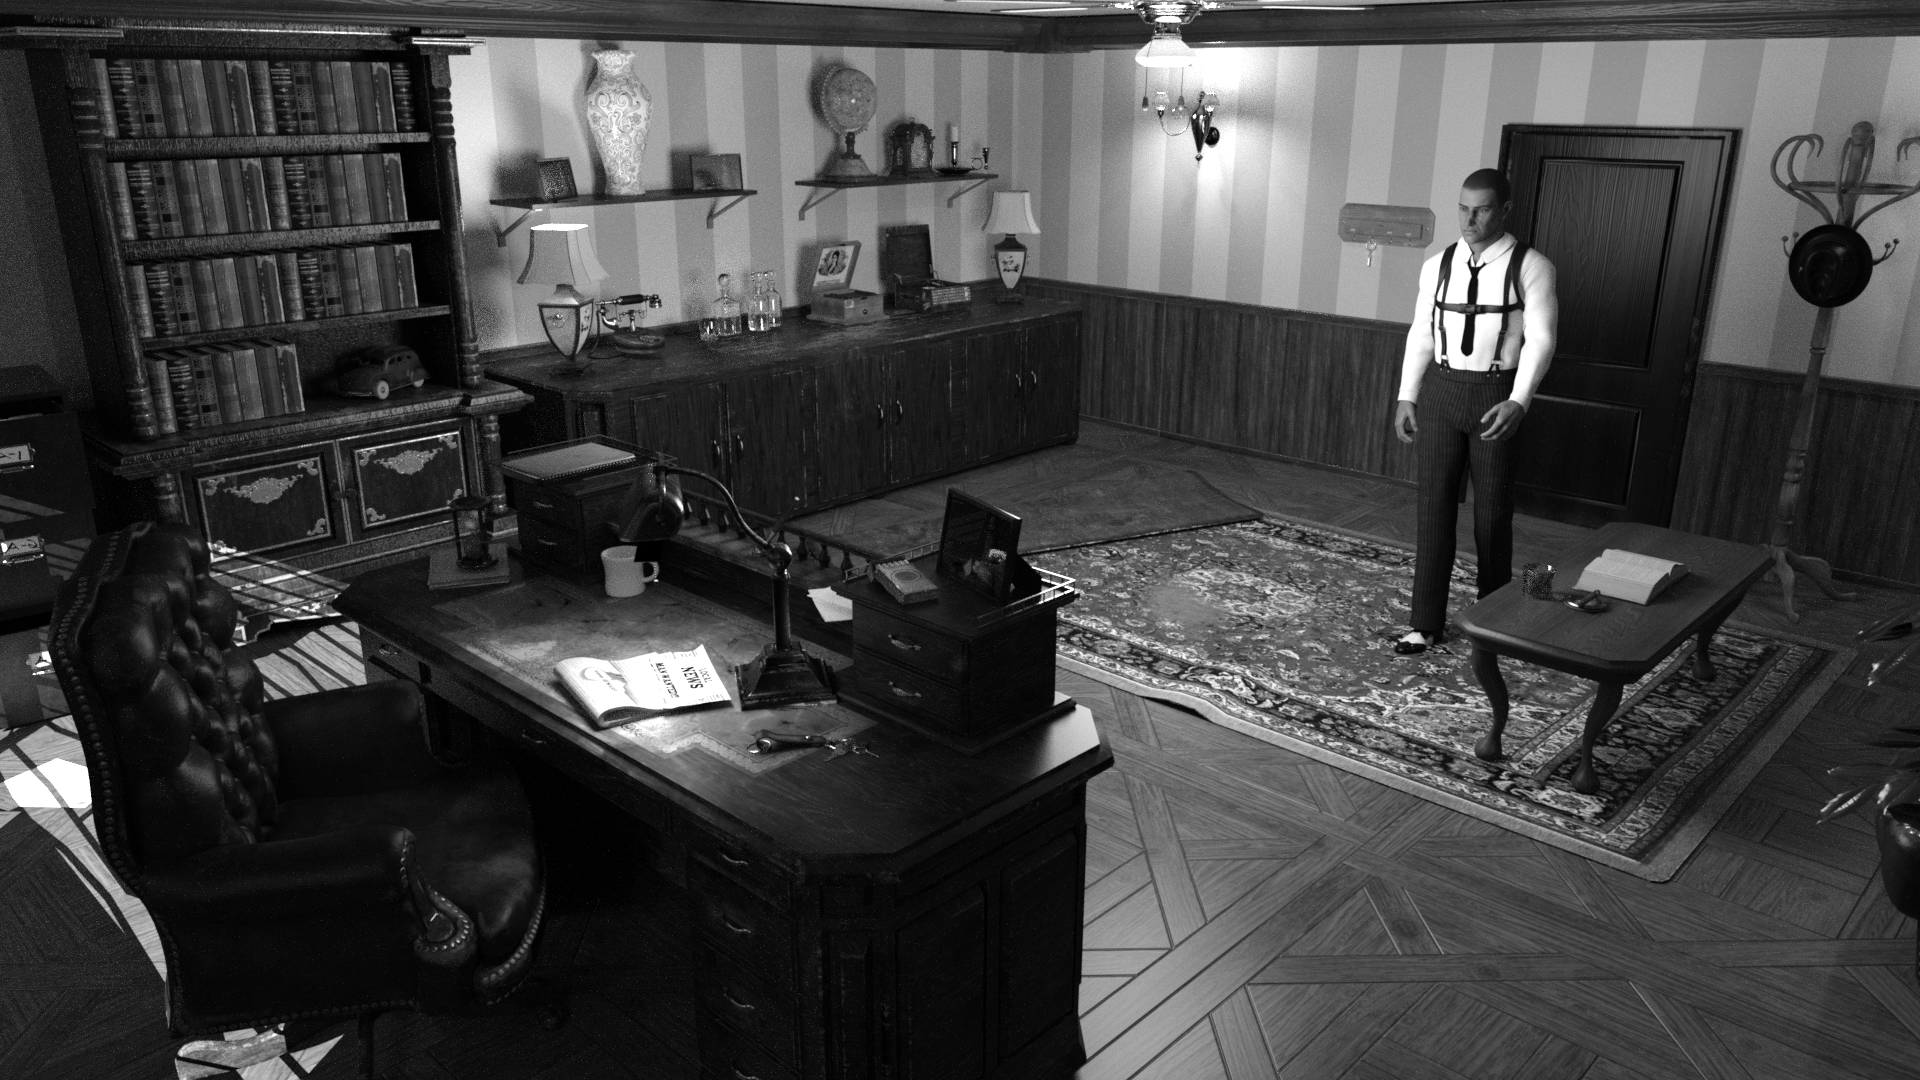
Sticking stricly within Daz, I used Sketchy Toon Shader for the following iRay renders. This is a Genesis 8 Rayya figure.
Cheers!
I'll recommend two products from ForbiddenWhispers:
https://www.daz3d.com/film-noir-portrait-studio
https://www.daz3d.com/film-noir-iray-portrait-studio-vol-ii
Both versions contain preset render settings for "Remove Colour ONLY" and "Restore Colour ONLY". Easy, one-click way to remove and restore chromatics.
I generally prefer to render achromatically rather than try to strip out the color from a color render in Photoshop. One step fewer, and I like the results equally.
Because I'm more interested in geometry/form than color or surface texture, I'd say I render achromatically 15-25% of the time. And a lot of older models which prove difficult to convert or retexture to work well in current versions of Iray in color sometimes work just fine in black-and-white.
Thanks for those links, threw them in my wishlist. I used Noir Cyberpunk HDRI Volume 2 which also works pretty well.
Gallery link
@AgitatedRiot That looks like it could be a still from from one of those awesome old noir films. Well done!
@csaa I think I have only seen that product used with anime/toon characters. Very cool images and character!
@rcourtri_789f4b1c6b Those are very interesting products, I will take a closer look. If you have any images created with them that you would like to share, I would enjoy seeing them.
@stelari I had not seen that product, thank you for posting it. I really like your image, intriguing character, and great use of DOF!
I usually use The Silver Efex Pro plugin for Photoshop for my BW conversions. Sometimes I use the BW adjustment layer in PS, other times I use the channel mixer but I find I have the most control if I use a black to white gradient map adjustment layer then place a selective color adjustment layer between the image and the gradiennt map. That way I can play with each color in the highs, mids and shadows separately, creating just the right amount of contrast.