Show us your postwork!
 Karibou
Posts: 1,325
I'll admit this idea was sparked by another thread, but I think it's off-topic enough to merit its own topic. When I look at some of the amazing images here, I'm often curious about how much postwork goes into an image. And I mean that in a very complimentary way -- I'm a fan of postwork. So, let's see it! Show us where your workflow starts -- your "raw render" -- and then show us the final version. I'm always a little timid about showing ANYONE my initial renders, because some of them are really quite terrible, lol. I do a lot of layer overlays and adjustments, softening blurs, and occasional flame/magic effects, but I can't paint my way out of a paper bag and don't own a tablet. My final images are usually drastically different from the initial ones unless I'm going for photorealism, where the render engine usually does the work.
I'll kick it off with a few:
Emergence:
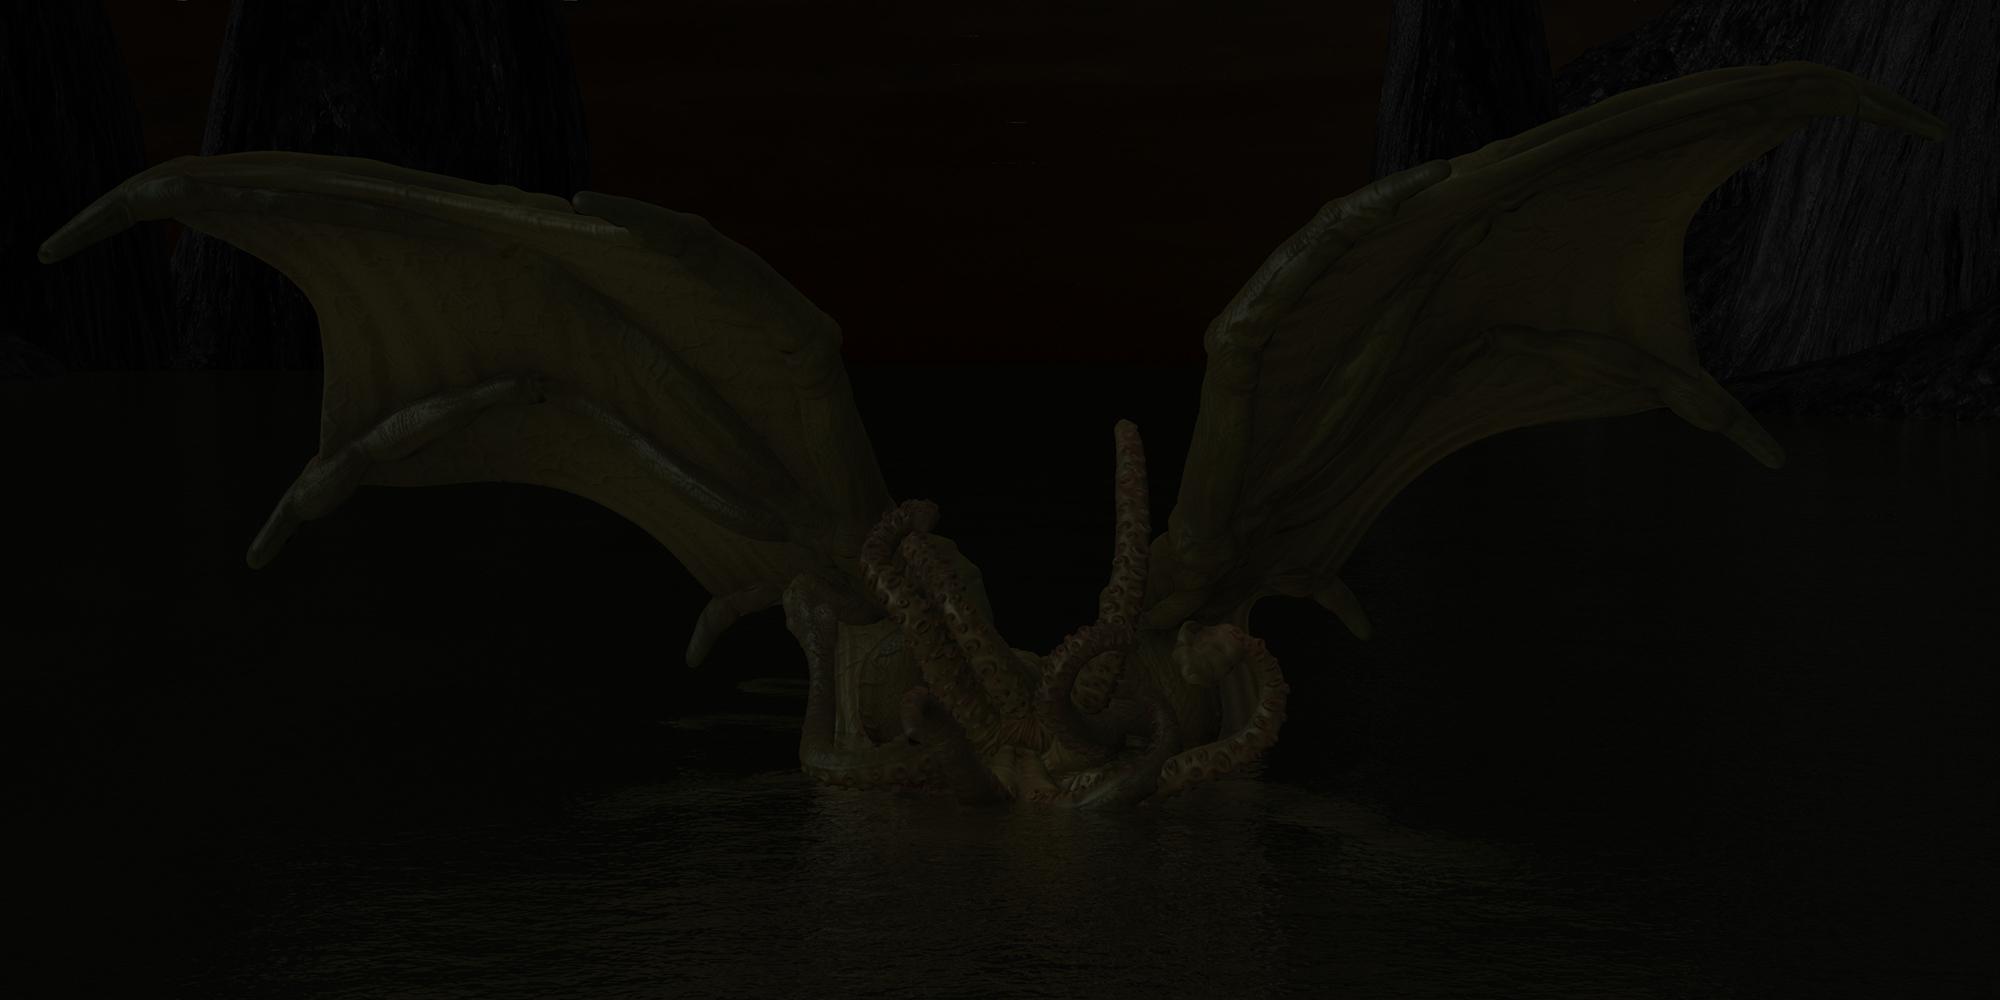
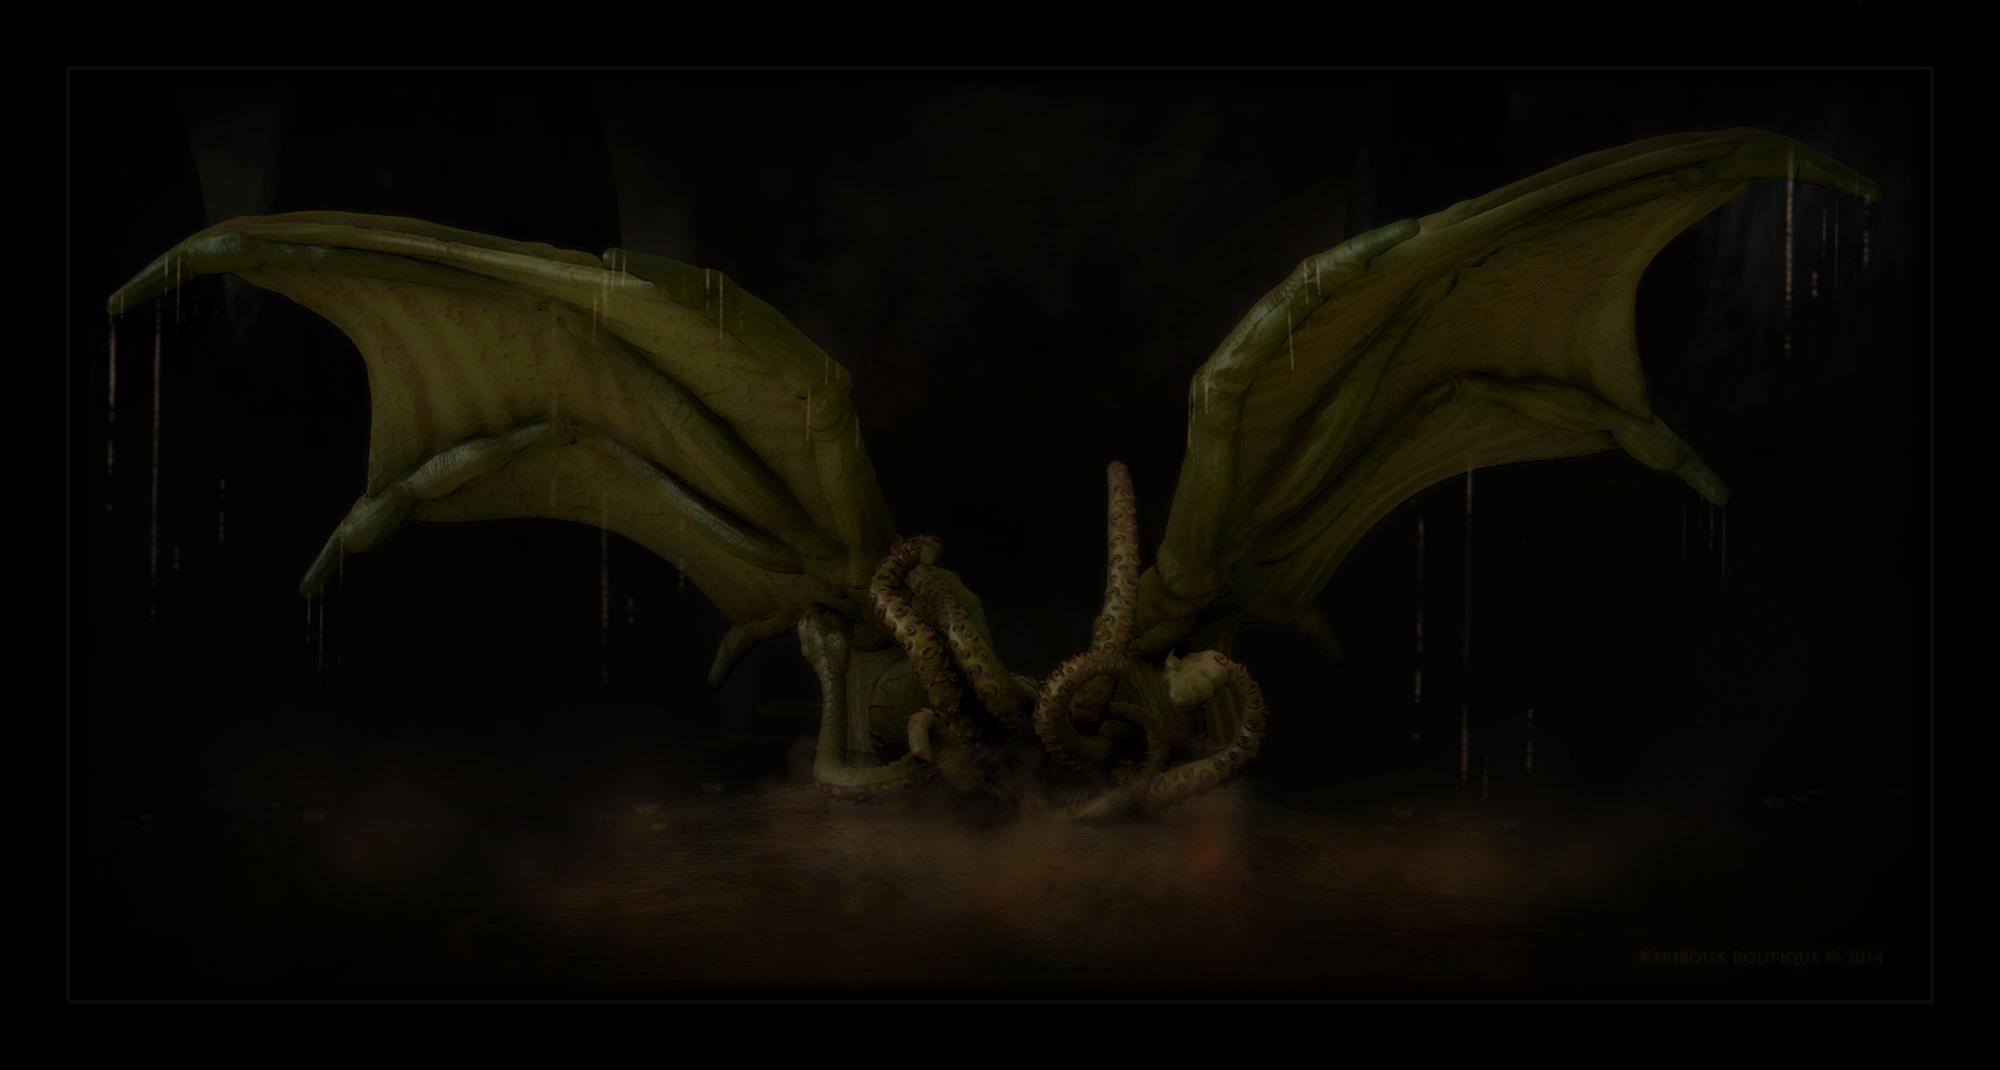
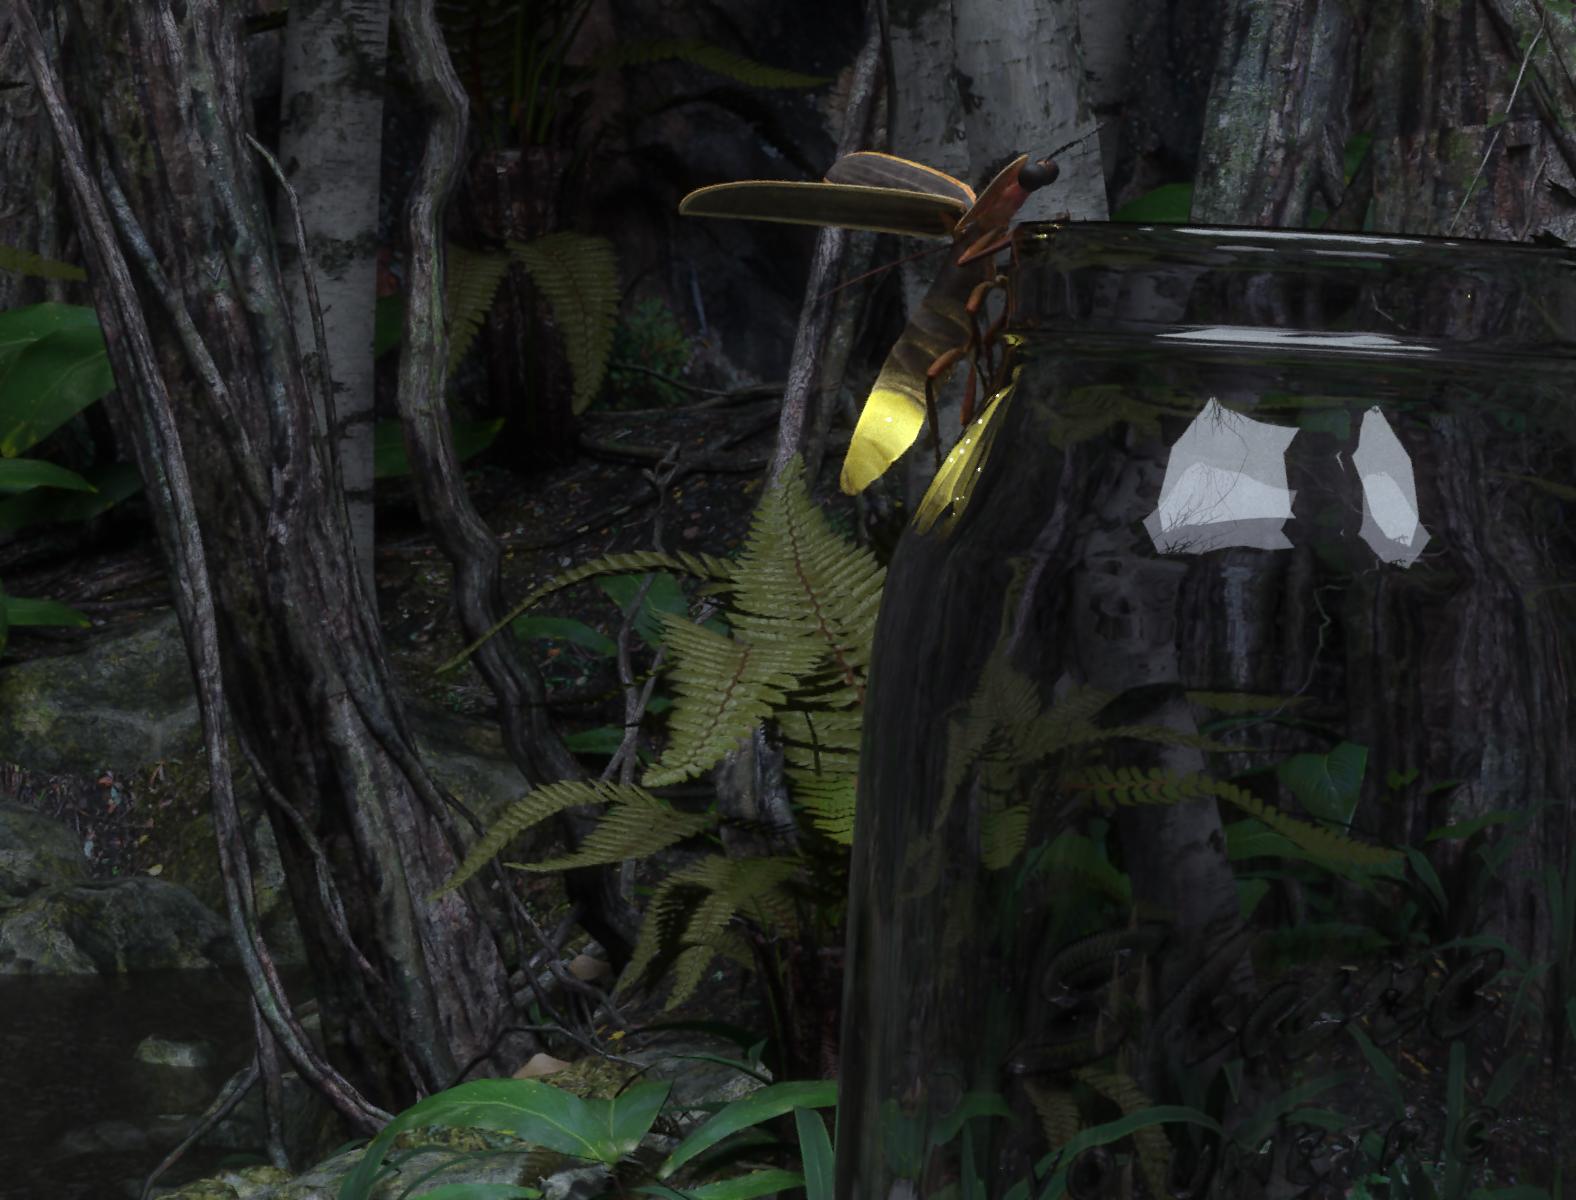
A Light in the Darkness
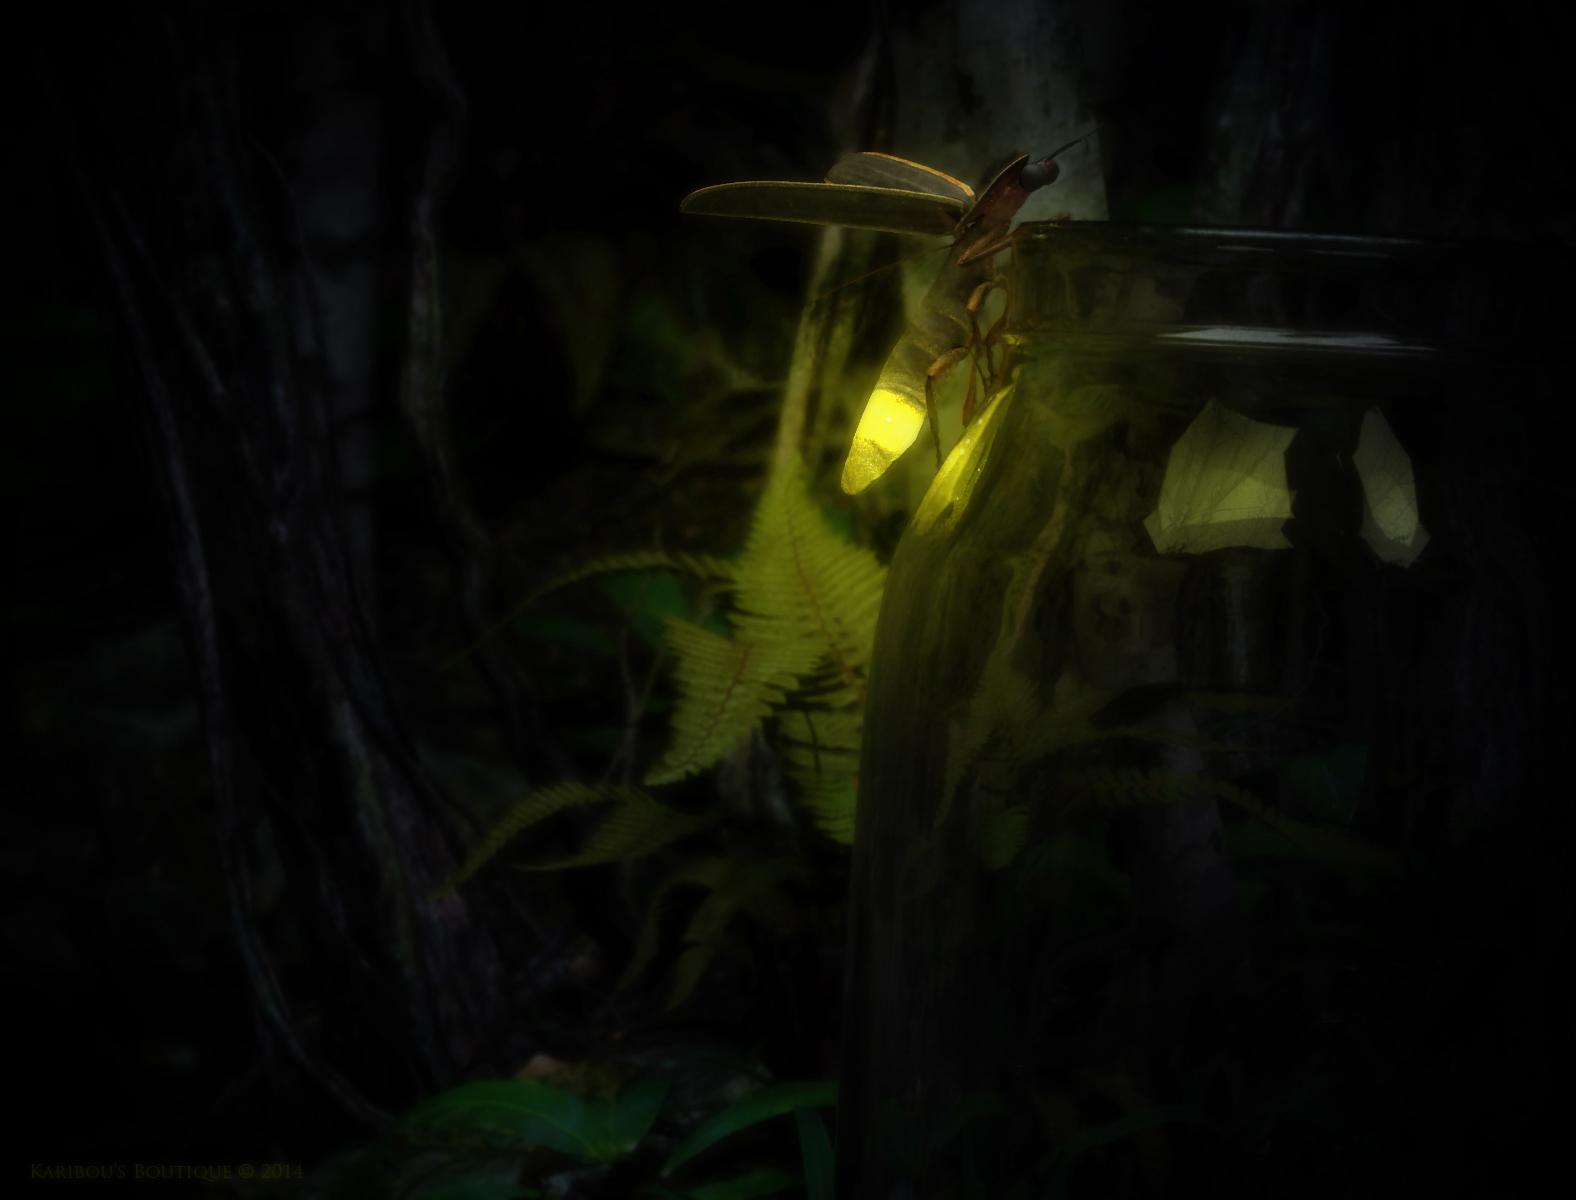
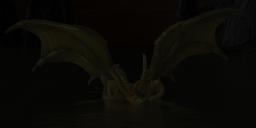

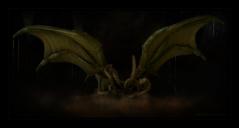




Comments
I haven't been posting much in a long time, but this sounds fun. I'll play.
A Prayer for the Dead
That's awesome! Love the smudgy/grunge effects!
here's an example of how I postwork my images..and the type of passes used
the one thing I don't like about Iray is everything just looks perfect out of the box ,so there's nothing to do in post to make it better ,I'm sure that's a good thing, but I do miss messing with images in Photoshop
Normally I try to get everything done within Daz Studio, but for this idea it wasn't possible so postwork was a necessity.
That is just really gross and really cool all at the same time.
@Stonemason You really need to do a tutorial sometime or if you have point me to it. I don't understand how or why all of the steps are done (postwork newbie), but I certainly love the end result!!
I'll bite, though, I only have one postworked image which I did for the October newbie contest. The theme was atmosphere. Rendered in Iray. Postwork in Gimp: adjusted levels with the curves tool, added a little blur to some of the fog in the background and highlighted the hood on the cape. I just learned how to do layers while working on this project so all postwork is very simple at a beginner level.
And it shows. Gret stuff there.
@Stonemason - Theres always things to improve or add to the image of an Iray render, all the same with 3Delight and other engines But I agree, certainly a lot less preparation work especially with the lighting and materials. I still do all the same work in post: Enhancements, pokethru/distortion fixes, painted in objects/details and Special Effects such as: Atmosphere, weather, smoke, clouds and lens flares etc (Hope Daz adds iray lens flares to the options soon).
I don't usually show raw renders of mine, but this thread was positive and very inspiring, so I ended up looking through my 'vaults' to see what I had worth showing. In order they are: Revealed (Iray), Reminiscence (Iray), Through the Blizzard (3Delight), Right Behind You (3Delight). I render a bit like Stonemason, do several render passes, most often for Depth masks, Occasionally an isolated light and sometimes (due to hardware limitations of my previous PC, or for postwork needs) I would choose to render in layers and combine them in Post.
There has to be a tutorial somewhere that can give a clear path to creating the masks you show here. I did some manual and some auto-post work using Light Dome Pro-R for this one.
I used the 3Delight snow shader inspired by one of your products (I believe).
We have moved this thread to the Art Studio, as it is a more applicable forum for this sort of thread, and as it is not so fast moving as the Commons the thread has a better chance of not getting lost.
I would imagine most of the passes were created using Canvases, in the Advanced tab of render Settings with Iray as the Render Engine.
I love postwork but I'm not very good at it. Here's an image I did following Laticis postwork tutorial.
Wonderful vibrant colors! Huge improvement to the raw render - thanks for sharing.
- Greg
Not sure whether my process falls into the category of traditional postwork or not, but here's one example of some of the render passes I produce with DS, as well as some finished images of various styles produced from the various passes. All rendering and subsequent processing outside of DS is scripted and fully automated.
- Greg
Wow -- I'm so glad I asked!! This is some very cool stuff. I do a lot of the same render passes as Stonemason (which makes me kinda warm and fuzzy, lol) but I lack the skill with "painted details" that he's shown.
Useful tip -- if you want Z-depth layers in Studio that account for transparency, you can use AoA's fog camera (in 3Delight.) As suggested by AoA himself suggested, just turn off the lights, make sure nothing has ambient values, change the fog color to white, and voila! Done. I'm still not sure how to do a true occlusion pass in DS, though. I usually just apply a plain white uber-surface shader to all materials (remove all diffuse, ambient, and specular images/colors/values but leave opacity alone), turn off shadows on all objects, and then render under a plain, white uberenvironment with occlusion. I'll always have to apply a levels adjustment in Photoshop afterwards to "bleach it out" so that only the dark occlusion effects are visible.
These are the passes I made to postwork my "emergence" render, plus a screenshot of part of the layers I used. (These were all made in Poser. I use Shaderworks' Advanced Render Settings to get all of my render passes there because the Z-depth map automatically accounts for transparency, whereas Poser Pro's native Z-depth layer does not.) While working, there's a second document that I create (new from snapshot) once I reach a certain point in postwork so that I can flatten it, then run blurs or actions on it with trial-and-error until I'm happy. I then flatten and copy the filtered image back to the main one for some more editing.
Oh, and I almost forgot... I did a VERY basic tutorial series on postwork. You can find them all (plus a few very entertaining animations my daughter did using Carnegie-Mellon's Alice programming-instruction program, lol) on my youtube channel:
https://www.youtube.com/user/karibousboutique/videos
These tutorials cover both Poser, DS, and then the very basics in Photoshop. And the DS videos are pre-Iray, so I use 3Delight in all of them. But, as noted by Stonemason, most of this is FAR less necessary in Iray anyway.
@Chohole No wonder I couldn't find it this morning when I went looking!! You are a very dangerous woman for those of us who live on very little sleep and easily believe they imagined whole conversations at four in the morning.
I really enjoyed seeing the steps you went through on the last render. I learned a lot just from seeing how you rendered and then put them all together. Very nice render, btw. I would probably learned from as much from Stonemason's post, but first I have to learn what each of those first three renders do. Although, I think I get the basic premise. Render different elements with different lighting and then layer them all together in postwork.
What tutorial? Do you have a link? Huge difference in images. I like what you did in postwork.
Wow Guys! Thanks for sharing your images, what you're doing in postwork is amazing.
I'm always caught with having a natural / real looking render and wanting to make it bright because I'm partial to bright colours, but then it looks unnatural. Then I sit there forever not being able to decide...
This is great looking at how just a little detail can have such a huge impact on the final image.
Any ETA on when we may be able to play with those delicious NPR shaders?
Thank you :) Here's the link to the tutorial.
http://laticis.deviantart.com/art/LI-Post-Work-TIP-Reparing-a-Render-381558233
It's just a few easy steps but they had great impact in my images. I use it in everything I do. There are a few other tutorials in his gallery really worth your time :)
Right now, I've implemented support for normal, displacement & bump maps. Still have work to do on supporting refraction fully, and I've written some new shaders/scripts to allow for volumetric effects that need to be integrated as well.
My original plan was to make the analysis shaders (the separate render passes - not the final images) available for free as actual products through the DAZ store. The actual illustration (sketching, painting, etc.) is something that would be difficult to package & distribute, so that aspect of it would have to remain a service through the distributed network I have setup (like a render farm).
It'll take a lot of work to get the analysis shaders & scripts so that John Q. Public can easily use them. This is work that I'm willing to do, assuming some sort of a relationship with DAZ, but at the moment there is none. This is probably something best discussed somewhere other than publicly in the forums. If you're interested, PM me.
- Greg
I really like the top two.
Your shaders would make a great product
Here's my first attempt:
Thanks, Mattymanx. I wish you could all see what they look like in print! Attached is a crop/zoom of just a small portion of the 2 images you said you liked. Hopefully, you can see the detail a bit better (it's really hidden in the smaller images I posted earlier).
- Greg
Removed, double due to browser hiccup, sorry.
Fun thread!
My postwork usually consists of fixing flaws, fiddling with hair (if the crippled arm allows, I will one dat learn to paint hair) and some filters and whatnot.
Before:
After:
Postwork is certainly my weak point, this thread will inspire me to learn, fabulous post work thus far.
Love this thread. It's wonderful to see the process.
Postworked
There is some very nice art here and the thread is inspiring. Thanks Karibou for starting it and everyone who has contributed. :)
It seems some artists are stuck on the idea that images should be produced in IRay 'or' 3DLight. There is no such rule. Postwork by definition is combining various components to produce a unified vision. One can create parts in 3DLight and parts in IRay and combine the two, even through in some photographic work for good measure if it suites. That is one of the benefits of post.
The other benefit is that one can drastically reduce the amount of render time often with a creative use of post since once we understand the process and gain some experience, we can often substitute tasks that would take an inordinate amount of render time with post, such as: dividing the scene up and re-rendering only portions that need adjustment rather then the whole scene or doing effects in post that would take a rediculous amount of time in the render engine directly (like fog effect.)
I don't see how IRay would eliminate post since:
a: The second point above about saving time still applies to IRay
b: It has certain limitations built into it's method of rendering an image that can be got around by combining with parts from other render engines
If one blends between results of different render engines, we can get some interesting results.
On a related note, one can always export a scene and bring that scene into another 3D environment to produce certain maps like AO, Cavity, etc... pretty much any map that doesn't require a match on the original shaders. It's a bit advanced, but it's something to keep in mind.
Lori (WickedBookCovers,) that is a good example. Hair is still something that is very hard and time consuming to do decently in any render engine yet. Many images that have decent hair have been at least touched up in post if not had the hair done entirely in post.