Adding to Cart…

Licensing Agreement | Terms of Service | Privacy Policy | EULA
© 2025 Daz Productions Inc. All Rights Reserved.You currently have no notifications.

Licensing Agreement | Terms of Service | Privacy Policy | EULA
© 2025 Daz Productions Inc. All Rights Reserved.
Comments
I'm so excited that @Stonemason's Urban Future 5 came out today! I was up when the store came back online at the crack of whatever time it was and my jaw just about dropped with excitement. I knew it should be soon because I had seen some previews Stonemason put up in the gallery. I just hadn't expected it to come out the day after I saw those spectacular images. I even broke my rule about buying at that time of the sale cycle and it jumped into my cart so fast my head spun. I did figure out the best way to maximize my savings and got a great deal.
My attempts to use this won't be as good as Stonemason's but I'm excited to have it in my library. When I get a set like this, I always do a couple of test renders on my setup to see how it renders and how long it's going to take me. This one wasn't too bad. It loaded fine in my DS in Linux without any hangups. I looked around and figured out where I wanted to put my cameras for the test shots. Set the Sun-Sky to early evening and adjust tone mapping just a touch. I love the set. I'm going to get quite a bit of use out of it. I love Stonemason's work. Awesome! I couldn't really get anything else in his store but, luckily, there isn't actually all that much in his store that I don't have. Only about 5 things left to get not counting the commercial licenses which I don't need.
This took a little over 3 hours at a quality setting of 2 on my setup CPU only. It actually looked really good at 2 hours on a quality setting of 1 but I wanted to see how much better it might get so upped the quality to 2 and set the max seconds down to 0. Turns out the 2-hour default was actually fairly good. We'll see how much is added when I start adding some figures in there. I already have some ideas.
I spent a good bit of store credit on unicorns yesterday, probably more than I should have, so I'm not expecting to get much more unless something really spectacular comes along. Saving the rest of my store credit for Creech for G3 which I hope comes out soon! Anyone think I can manage to make a nice render with unicorns in Urban Future 5? So far, I'm not getting any ideas in that direction. LOL. At the moment, I'm sorting through any sci fi outfits I have for G3M so I can add some people to my scene without the unicorns. I do have some nice galactic type uniforms and stuff so we'll see what I come up with.
edit: forgot link
Awesome! Hard to go wrong with any of his stuff. I dunno about working unicorns into the mix though . . . soory - I'm no help there lol.
- Greg
Unicorns would be tough to work into that one. Really tough lol. Maybe on the billboard or one of the signs? Can fairy's be in sci fi? Hmmm that's an interesting thought. If you can work in fairy's you might get away with a unicorn.
That's a thought. I had a thought pop into my head that might work. I don't know if I can pull it off, though. I was thinking of some futurish teenage girls "walking" holographic unicorns like they would pets. I might have a shader to make things look holographic, like a 3D hologram that acutally has substance. I just don't know if it would work with the unicorn textures or not. I'm still thinking. I'd have to try and model a collar and leash, maybe. Maybe have something that looks like a holographic emitter or something. That might be simple enough for me. Not sure about rigging or anything at the moment. I'll figure it out after I get my galactic soldiers figured out.
Running another test render of the set with different render settings that @ile-avalon posted in the thread on the commons here. The differences in two little settings are amazing. I'll post my test shots once I'm done.
Love Stonemason's work. I picked up his set today as well - need to do some renders.
That would be super cool!
So, as I posted above, I got Urban Future 5 and did a test render. I'm relinking the image for comparison purposes.
Over in this thread, ile-avalon posted some settings that I wanted to try out and see how they affected the emissives in UF5. Ile-avalon suggested change two little settings in the Render Tab. One setting is in Tone Mapping (set Exposure Value to 8) and the other is in Environment (set Environment Intensity to 0.016) of the Render Settings Tab. I've never played with these settings in Iray so I don't have any idea why or how they change the image. I do have to say that it is a very dramatic change that I really liked. Here is the new render, same settings as above except I changed those two little settings.
I love how the emissives all just pop now. Such a really great tip so thanks, ile-avalon! Stupid '@' thingy doesn't work with special characters so I can't ping them. There was another set of values suggested but that one is still rendering and won't be done before I go to bed so I'll post it in the morning. I'll have to reset my Sun-Sky setting as it is set for around 7 pm. I'll probably change it to later to help get it darker for my final render as I want to do a night scene.
edit: forgot I changed camera views, too. All settings are the same except the two things I mentioned I changed. I might try and redo the original scene with the new settings for a more scientific comparison, but I like what I'm seeing!
edit again: I forgot already that I did render this camera angle with my original settings! You know what they say about the memory is the first to go? I'm in big trouble already!
KM, I don't know how for DS but in Carrara you can, I've been told, give the Unicorns Invisible shader settings and they will cast a shadow if you want one. But then a hologram does not cast a shadow. So place them in the scene normally turn them Off so they do not render and render/save the image... then simply turn them Back on and get rid of, hide or delete everything else you want and render/save a 2nd image with just the Unicorns. Composite the 2 images, renders, in Gimp where you can adjust to your liking. Sound like a plan?
Sounds like something I could do! So, yeah, I think so, maybe. I'll have to play with it. Thanks!
In the Stonemason renders when you set the Exposure Value to 8 you set the camera to allow more light in so it could 'see' more of the scene and by setting the Environment Intensity to 0.016 you effectively turned it black so emitting very little light, if any.
Very nice renders.
You can get a pretty good explanation of Exposure Value in the DAZ Documentation Center.
Thanks for explaining that! I learned something new. :)
Thanks. I'll take a look at that. Might be very a useful read if I plan to play around with those settings more.
I'm still setting up my UF5 scene. I love this set! I have most of my elements in place. I think this might be the most involved scene I've built to date. I really hope my computer can handle everything. If not, I might have to render in sections. I don't know yet.
I've been playing with unicorns and trying to see how I can make them look sort of holographic or give them a sort of science fiction look so they'll fit in seamlessly with the set. Not too sure I've succeeded. I have a few other ideas to try out but here's a preview of my first idea on the subject. Let me know what you think.
What I started with:
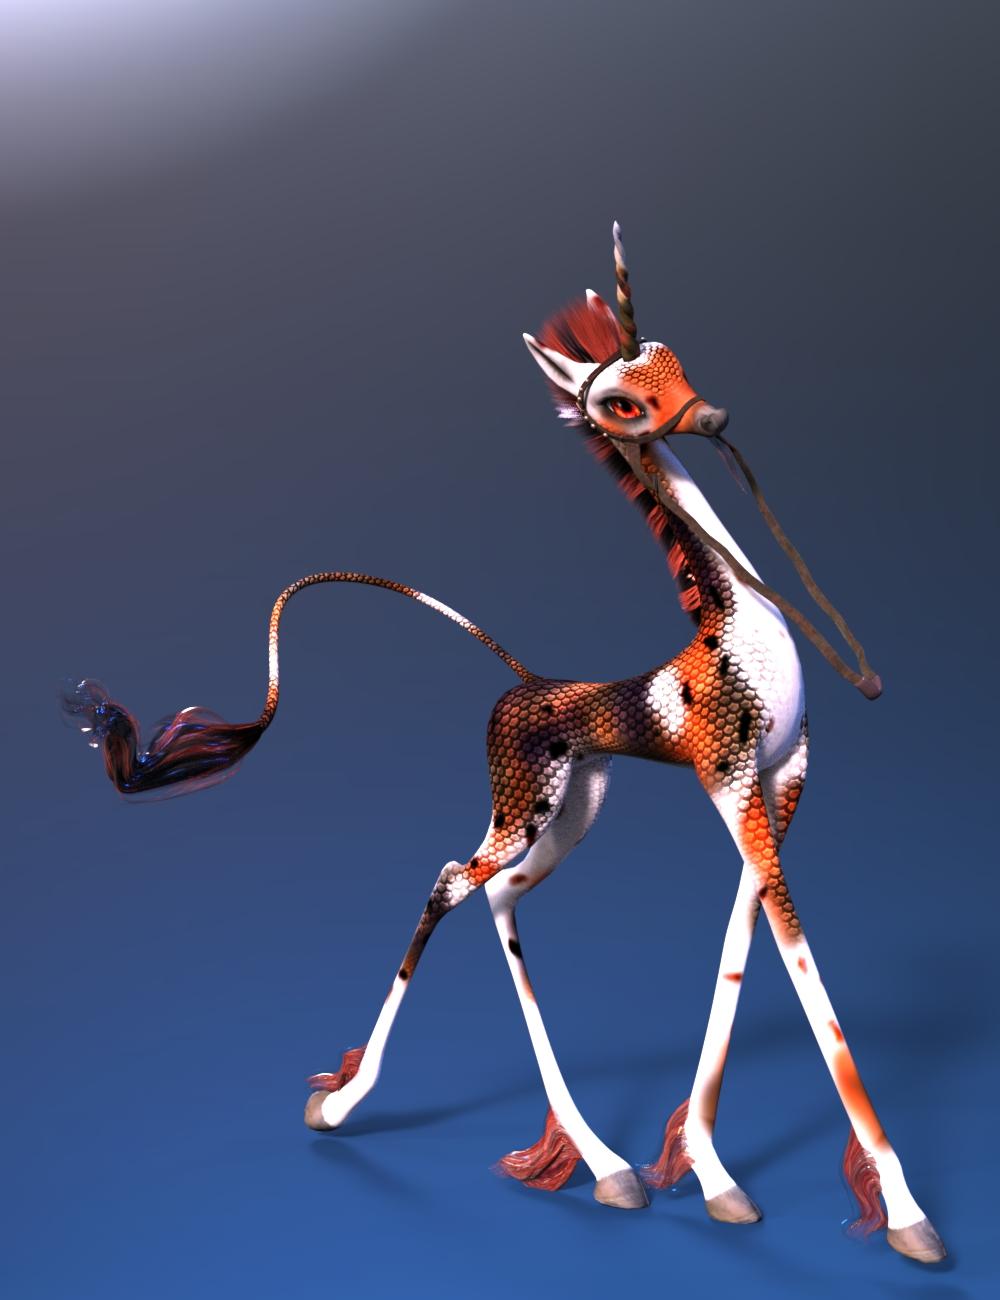
First idea:
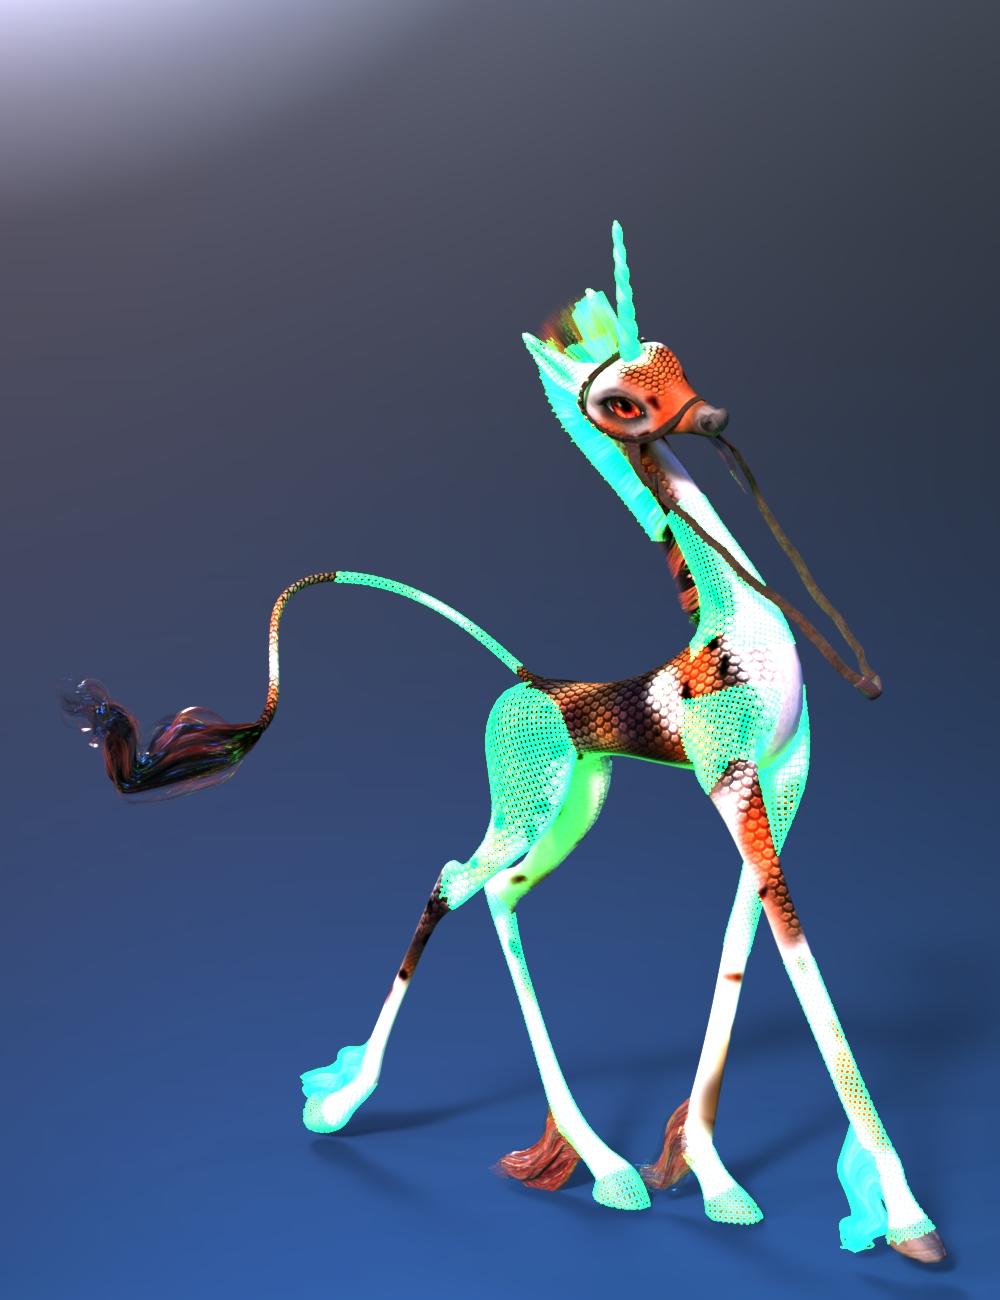
Just wondering...how do you use a set like Urban Future? Do you load the whole set and then focus the camera on the area you want in the scene? Do you pose your model first? And if there's a roof...I suppose you have to put cameras inside or maybe hid the roof?
Thanks.
Well, Urban Future 5 is mostly and outdoor environment so no hiding roofs needed. Basically, here is my workflow for a new scene, especially one using a new set I haven't used before.
1. Load the entire set. UF5 only comes with a preload for Iray and 3DL. There are no cameras so you have to set up your own.
2. Look around and try to figure out what camera shots I might want and create a camera there. I usually scope out 5 good shots to start with a set this big.
2. Render an initial test render to try out lighting. You can see those tests in the posts above for UF5. There are no lights in UF5, all lighting is using emissives.
3. Play with the settings like I did in the above post to fine-tune the render settings. Add lights if needed. Here I just used the Sun-Sky option in Iray.
4 Save the environment with my settings.
5. Tell DS to do a new scene.
6. Now I start playing with the figures that I have an idea I want to use for the scene. I'll load each individually to start. Get them dressed and try out different looks. If I'm doing a group, I'll still start with each individual figure first.
7. Save what I have for each character as a Scene Subset for easy loading into the big scene.
8. Put all of my elements together.
9. Do my initial test render of my final set and see if the lighting works well with everything now in the scene. Make adjustments as needed and render final image.
That's what I do when I starting with a set and playing with ideas as I go. Sometimes, I start with a character and have no idea what type of setting the character will go into. I have the idea for the character and build up and the environment comes last. I still do all of the same steps as above but I'll mix it up so the character stuff is first and everything I do for the environment ends up being last.
I ALWAYS save multiple copies of everything before I move on to the next step. Every time I make a major change I save a copy and add a number. I've learned, after a few crashes and mishaps, to save and save often. By the time I'm completely done with a render, I might have as many as 50 files saved for it depending on how complicated and big it is. The smaller the render the fewer the files. But, I can go back any step of the way if I decide I liked something better 10 steps back and get there immediately.
All of my files are descriptive titles with numbers that I add to incrementally with each save. If I'm doing a scene with all 3DL material and I think I'll be using 3DL instead of Iray, I'll save a copy as a 3DL scene before I do any Iray conversions and add Iray to the title of Iray version. I have that script that does incremental saves for me but I don't have that installed right now. I really need to get that installed and try it out.
That's just my workflow. I'm sure others do things differently. When I do a project, I'll take quick little renders each step of the way so I might have as many as 5 or 15 small renders of the steps before I put it all together and even start on the final render with all of those test renders.
I'd be interested in others' workflow. I'm always fascinated by how people get from start to finish in a project.
edit: added number 9
Thanks for sharing a bit about your process, Knittingmommy - I think we do things a bit similar. I also save out all sorts of scene presets/subsets for each character (the full character as well as separate shaping, mats, poses, etc.), props, the environment, lighting, etc. These are typically tweaked from where they started (ie: the original products).
The key for me is to save them all in the same directory as the scene file, not all spread out in categories. This helps me re-use them later on because I'm actually able to remember the scene I was working on. If I want to pose Spiderman in a similar pose to the one I used for my V4 assassin, I just navigate to the assassin scene directory and merge the pose preset created for her in that directory.
Can't wait to see your finished image. Your uni is lookin great!
- Greg
I wish I were that organized. I have attempted at times to gather up all of the files for one project and put them all in the same folder so I have a few projects that I've worked on where all of the various elements are all there together. Unfortunately, that never lasts long and I usually end up having to hunt if I want to go back later and find a particular pose or character for any particular scene. There are times when I go through and try to sort things out in an orderly fashion but I'm sure I've missed some files along the way that are still hanging out on my hard drive.
I wish I could take credit for being organized, but that's not it at all! It's more like lazy . . . I don't use smart content or any DB functionality, and I've never categorized a single product lol. My messed up mind builds some associations as I spend time working on a scene, and that's just about the only way it can remember anything ;)
- Greg
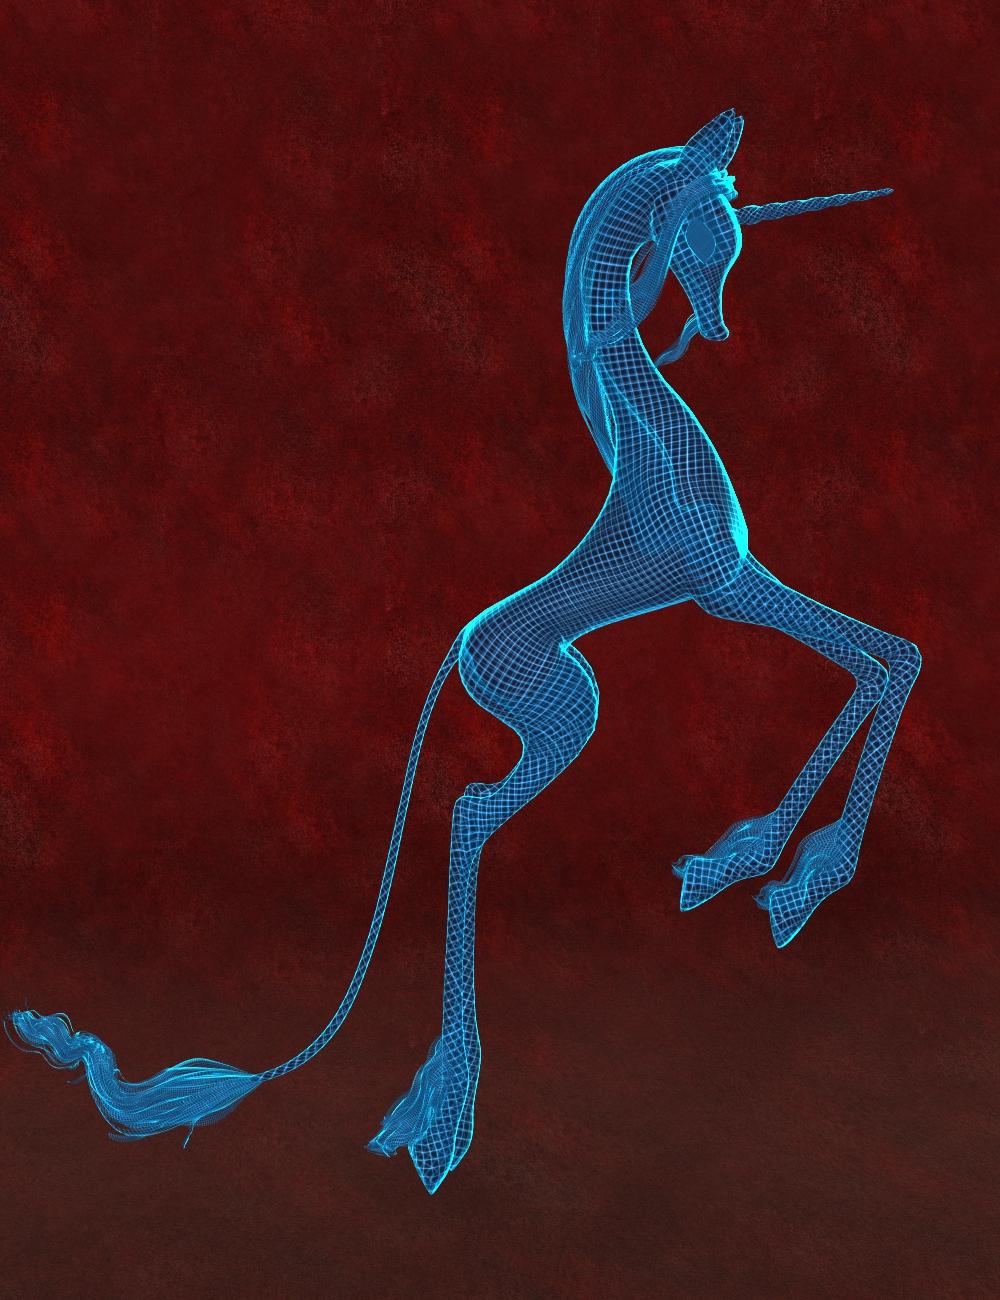
More holographic unicorn experiments:
3DL render with Wireframe and Hologram Shaders by @Marshian
Iray render with DG Iray Sci-Fi Surface Lights Shader by @DestinysGarden
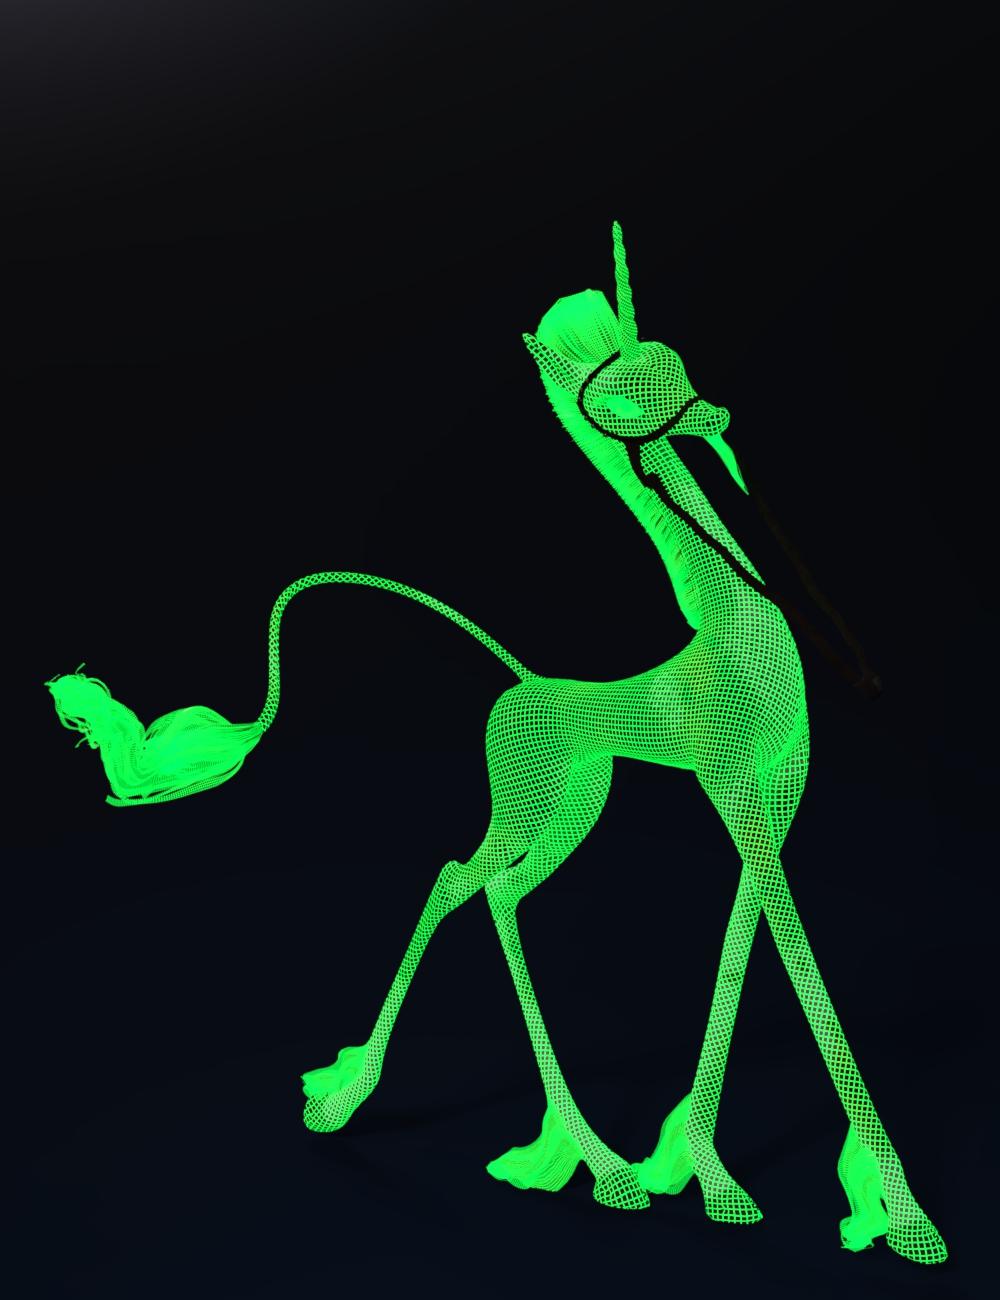
I like both, but to me, the holographic one stands out. The inner lines getting very thin, and the outline of the entire mesh being emphasized and highlighted makes a big difference, imho.
- Greg
Thanks. Yes, there are a lot of things I like about that shader, too. I'm not done experimenting yet, though. I have two more almost ready to post and I still have some other versions to test out. Hopefully, I'll get a look I completely like that fits my needs. Stay tuned! :)
Next two unicorn holographic experiments. I like how Marshian's shaders seem to glow so I thought I'd turn on bloom with the next shader to see how it looked. I might still have to play with settings but I see some possibilities. Both of these are Iray renders using DG's shaders posted above.
With bloom:
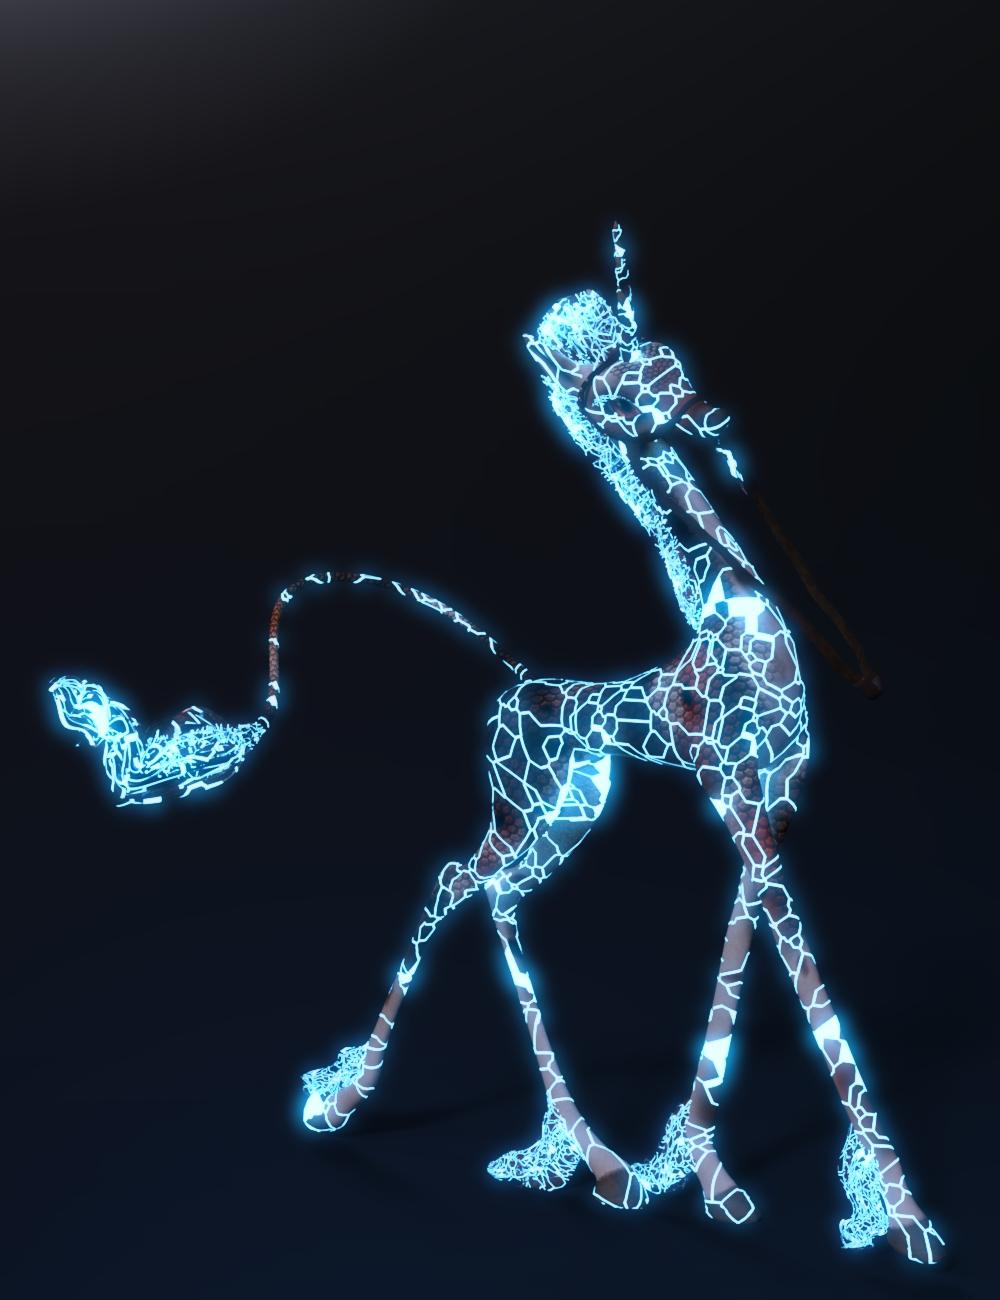
Bloom looks great - really makes a big difference.
- Greg
I like the one with the bloom the best so far.
When I do any kind of pose, material or character preset, they get saved to where ever the default is then I categorize them to my own system. All of my v4 poses for example, purchased and made are all under Poses, V4 and very easy for me to find. Same with material presets, saved to default then categorized to wherever that item of clothing is in my own categories. So if its for say elven dress, I know its going to be in the say people/G3F/Dresses/Medieval Fantasy/ElvenDress/Mats with all the other mats for that particular clothing item.
Characters I save out separately and they just go under People/G3F/Character/Name Or wherever that particular generation goes.
I am terrible about saving when I put stuff together and I am really trying hard to get better at that. It would be useful to have several different starting points for each scene. Surprisingly enough, I have no problem remembering to frequently save my Photoshop files. Go figure.
I actually usually start a scene with a character or a figure, put skin clothes hair on them then find a scene I want to put them in. Unless I have something very specific in mind for a particular set. Even then I almost always start with the figure first, and move the scene around the figure instead of vice versa.
I went back to this one that I posted above:
I turned off the geoshell for the eye surfaces and turned on bloom:
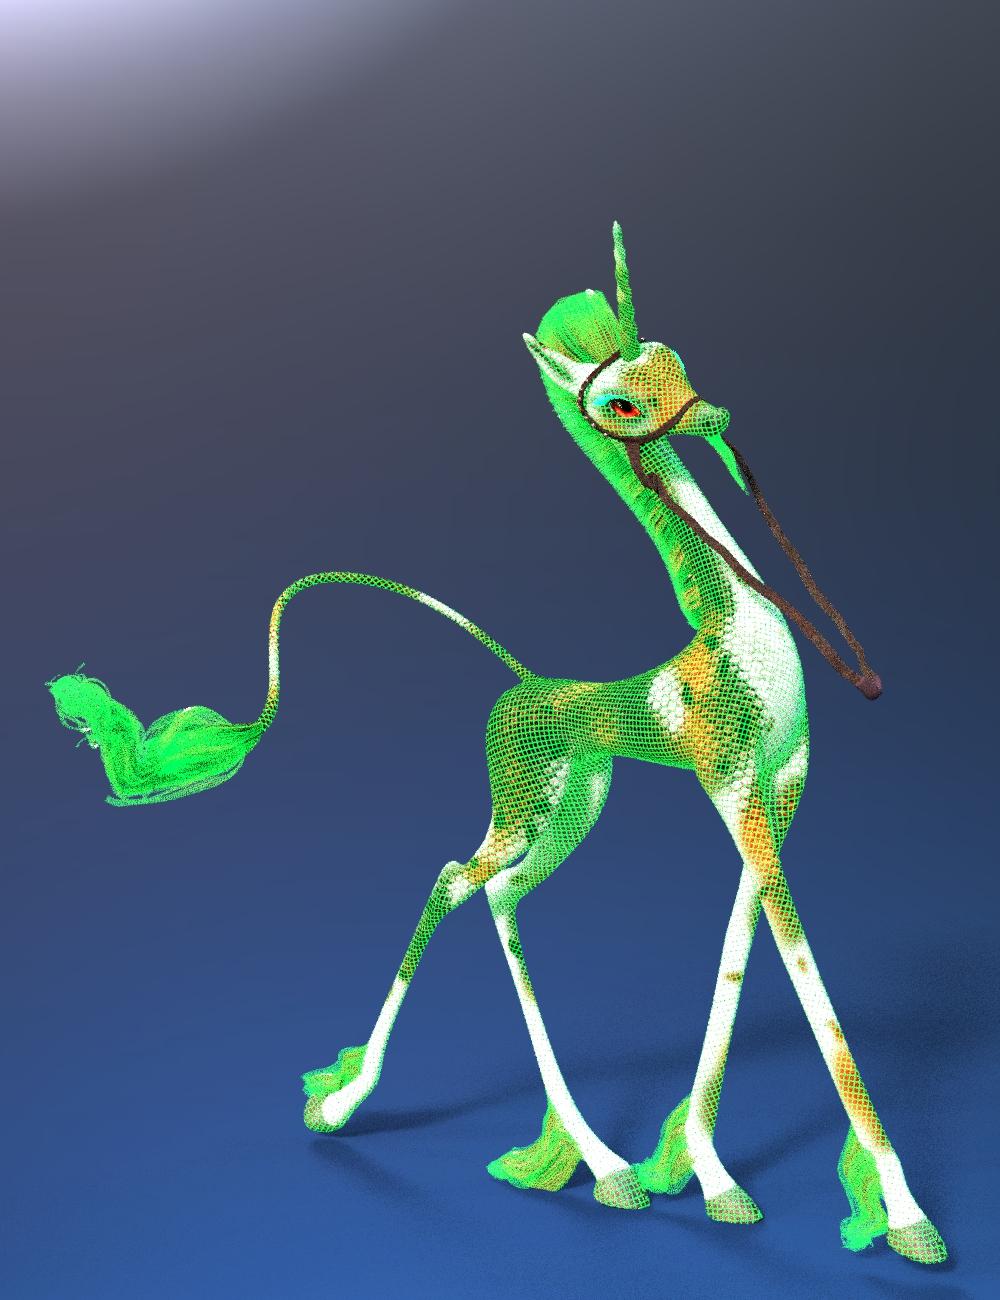
And then, I tried turning on the emission surfaces with bloom on:
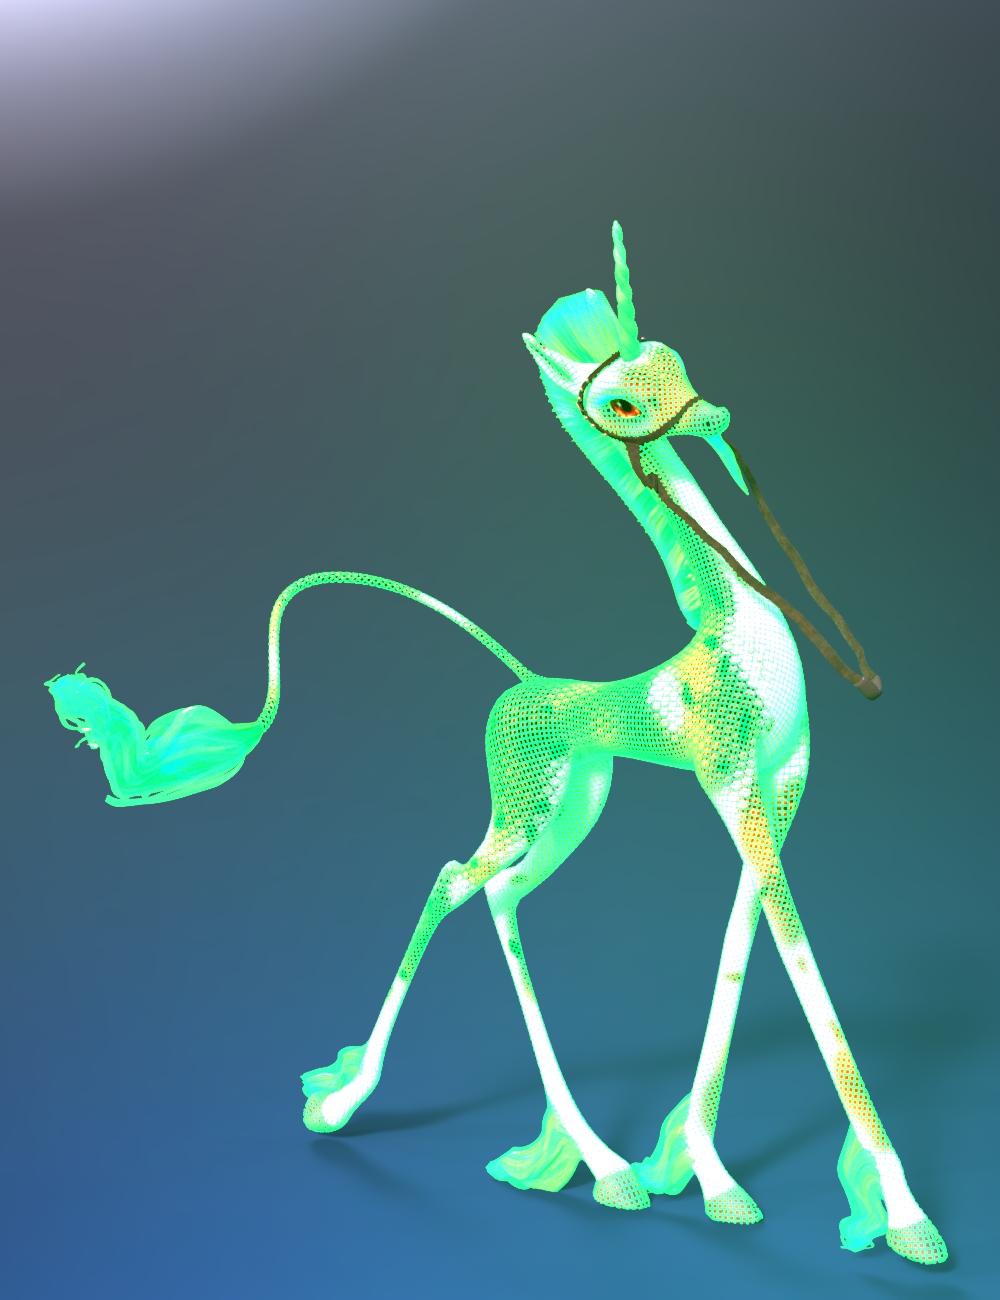
Not sure I like the version with the emission channels turned on.
@Algovincian Yes, I think so, too. I'm thinking I'll definitely have to use that which ever shader I finally decide to use.
I've experienced so many crashes and mishaps that I started saving in a very OCD manner so I could always go back if I needed to do so. I probably save way more than I need to but I'm always afraid that if I don't save then the one I didn't save is the one I really needed to keep. It saves my sanity to save the way I do just in case.
How I go about a scene all depends on what I have in mind. Sometimes, a character idea or a pose intrigues me and I'll start there and work my way out to the set. Other times, I see a set like UF5 come out and I have this almost instantaneous picture in my head that I think would be really cool.
In this case, I saw @Stonemason's pictures in the gallery before it was in the store and I was inspired. I was very excited to see that we would probably be getting a new Urban Future set. When I saw the promos, I instantly had this picture in my head of a busy street scene that takes place in the far distant future. UF5 inspired all of the elements that I'm planning to add to the set. I've collected a few Sci Fi type clothing, vehicles and shaders ever I started using DS because I love science fiction and I knew there were going to be quite a few of those types of renders in my future. I'm only now really getting to the point where I think I can do them successfully and not look like a beginner did them. We shall see if I'm right when I'm done.
The is probably biggest scene that I will have done especially in a short amount of time. I have sets that I've been working on and setting up that I don't have anywhere near ready to do anything with like the big shopping mall I got awhile back and I have a big underwater set that I work on now and again. I keep adding things to them. At some point, I'll get some renders out of them. But this set, I want to do now!
I want to do this scene that's in my head and I've decided to put all of my WIPs for it in the thread so my whole process from start to finish with this scene will be in my thread. I'm sure some who read this thread might even get sick of the WIPs after awhile and hope that I get the thing finished. I don't know. I don't know that anyone else will get any benefit out seeing me go through the whole process, but I'm putting it out there. Hopefully, the build up ends up with a really stellar render. We'll see. However, my whole process for this scene, from start to finish, will be out there for anyone to see.
Last unicorn for tonight. I actually really like this last one. Not completely set on it yet. I like purple, though. :)
I like your purple unicorn the best if you're going for a holographic appearance. Also the one you did with the DG Shaders and bloom turned on in the render (I think it's your blue unicorn in a previous post) is nice too. That's my two-cents...for what it's worth.
Now that one looks promising... a bit too purple though and effect lines too sharp IMO. I would crank up the visibility of the actual render, more than above... use Gaussian Blur, you probably did, and adjust to your liking. If possible do the same for the lines to blur them more... you may have already but not enough for me. :) Also on the original render... de-saturate... dark areas lighter/ light areas a bit darker. BTW: I was liking the "blue" wireframe direction... too bad there are not all equal, or near, sized polys. Oh... I'm thinking of the hologram(s) like in early Star Wars movies... where they are ghostlike or somewhat see through. I know you will pull it off!... you always do.
Thanks for the scene setup walkthrough... especially like #2 but all are good advice and most apply to other 3D Apps. I'm a firm believer of Target Helpers for the Camera to point at... once a camera is locked on that Helper... only it, the Helper, needs to be moved for adjustments. I also create more than one camera... one is a backup in case I accidently get my Key, Render, Camera out or whack.
I like the bloom one because it glows like a hologram would. I also like the blue one on the reddish background....just because I like it.
And thanks for the detailed explanation to my question. I have some of the big sets. I know the last time I tried to use one, I had a devil of a time moving my model. It moved very slowly. And the cursor kept coming off the dial and jumping somewhere and causing something to happen that I didn't want...like selecting something else in the scene. I'm thinking maybe I had something other than the universal tool selected. Not sure if that would matter or not when you are trying to spin a dial. But I'll try it again soon.